Pruning
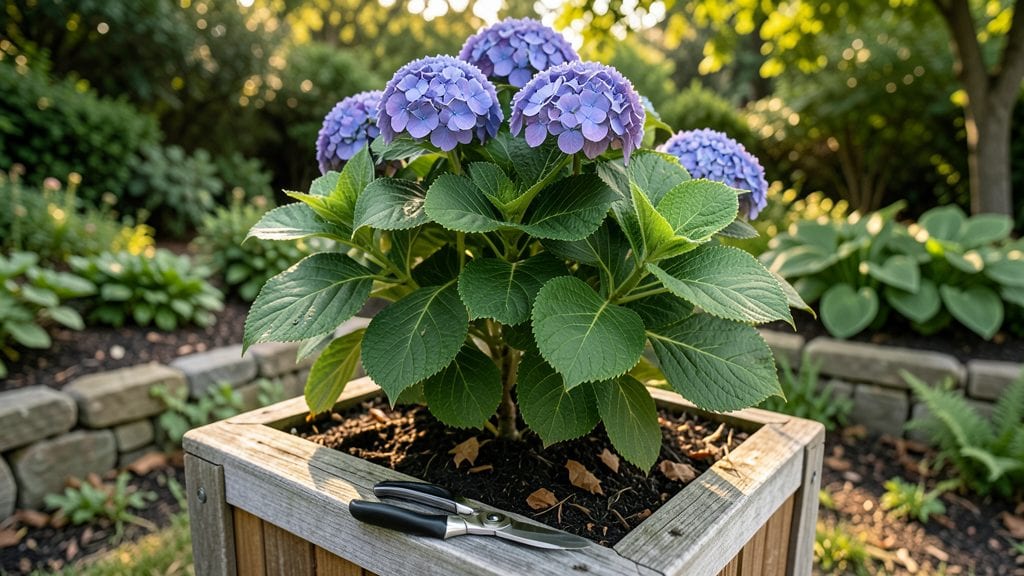
Pruning a plant isn't just about hacking away at branches—it's the secret to unlocking stronger stems, more flowers, and a bushier shape. ✂️ I used to avoid it, afraid I'd ruin my plants, but after mastering a few key cuts, my roses now produce twice as many blooms, and my herbs grow fuller than ever.
The right tools and timing make all the difference. You'll need sharp pruners, gloves, and maybe a ladder for taller plants. Spring and late summer are the best times to prune most plants, but evergreens and fruit trees have their own schedules.
The goal? Remove dead wood, encourage airflow, and shape the plant for better growth.
With each strategic cut, you're not just trimming—you're teaching the plant to grow stronger. New shoots will emerge within weeks, and the plant will focus its energy on producing more leaves, flowers, or fruit.
The key is patience and confidence; even a few well-placed cuts can transform a leggy plant into a thriving one.
This works for shrubs, trees, flowers, and even houseplants—just adjust the timing and technique. Let's get those shears ready and turn your garden into a healthier, more vibrant space.
📚 In This Guide
- What you need
- Instructions
- Tips and common mistakes
- Wrapping up and next steps
What you need
- ● Pruning shears – Bypass or anvil-style (choose bypass for clean cuts on tender stems; anvil for tougher branches). Size: 5–7 inches for medium plants, 8+ inches for large trees.
- ● Garden gloves – Durable, cut-resistant (nitrile-coated for thorns or rough stems). Tip: Opt for breathable material to avoid sweaty hands!
- ● Disinfectant (70% isopropyl alcohol or bleach solution) – 1 part bleach to 9 parts water to sterilize tools between cuts and prevent disease spread.
- ○ Sharpie or plant marker – For labeling cuts (optional but helpful for tracking progress).
- ● Bucket or trash bag – To collect pruned branches (avoid composting diseased or pest-infested clippings).
- ● Loppers – For branches ½ to 1.5 inches thick (extendable loppers save your back!).
- ● Pruning saw – Bow or folding saw for thick branches (2+ inches). Tip: Choose a curved blade for cleaner cuts!
- ● Hand pruners with ratcheting mechanism – Reduces hand fatigue for heavy-duty trims.
- ● Sealing wax or pruning paste – To coat large cuts and prevent sap loss or disease entry.
- ● Ladder or step stool – For high branches (prioritize stability—never balance on shaky surfaces!).
- ● Research your plant – Know its growth habits, pruning season, and specific needs (e.g., fruit trees vs. ornamental shrubs).
- ● Check the weather – Aim for a dry, overcast day to avoid stressing the plant with sun exposure post-prune.
- ● Gather safety gear – Safety glasses if dealing with debris or thorns, and long sleeves for protection.
Step-by-step guide to pruning a plant for healthier growth
Here's how I prune plants to encourage stronger stems, more blooms, and fuller foliage—without stressing the plant.
✂️ Step 1: Identify the Right Time and Tools
Prune when the plant is actively growing—spring or early summer for most plants. Avoid heavy pruning in late summer or fall, as new growth won't harden off before winter. Grab your bypass pruners (for clean cuts) and sterilize them with rubbing alcohol before starting. I also keep a pair of sharp scissors handy for smaller trims.
Dull tools tear stems, inviting disease. Test your pruners by making a clean cut through a piece of paper—if it tears, sharpen or replace them. Never use hedge shears for detailed pruning; they crush stems and damage plant tissue.
✂️ Step 2: Locate the Problem Areas or Growth Points
Scan the plant for dead, diseased, or crossing branches—these are your first targets. Look for weak stems (thin, leggy growth) and overcrowded areas where branches rub against each other. I also check for suckers (shoots growing from the base or along the stem) that drain energy from the main plant.
Healthy growth points are where leaves meet stems—these are your guides. Prune just above a leaf node (the bump where a leaf or branch grows out) to encourage new growth. If you cut too close, you risk damaging the stem; too far, and you leave a stub that can rot.
✂️ Step 3: Make Clean, Precise Cuts
Use your pruners to cut at a 45-degree angle, about ¼ inch above a leaf node or outward-facing bud. This angle helps water run off the cut instead of pooling. For thicker stems, make the cut just outside the branch collar (the swollen area where the branch meets the trunk). Never leave a stub—it’s an open wound for pests and disease.
If you’re shaping a shrub, step back often to check your progress. I like to visualize the plant’s natural shape and remove growth that disrupts it. For flowering plants, cut back one-third of the oldest stems to encourage new blooms. Always work in the morning when the plant is hydrated and cuts heal faster.
✂️ Step 4: Clean Up and Monitor Recovery
Remove all clippings from the area to prevent fungal spores from spreading. I toss them in the trash, not the compost—diseased material can reinfect your garden. After pruning, water the plant deeply to help it recover. You’ll see new growth within 2-4 weeks, depending on the plant and season.
Watch for signs of stress like yellowing leaves or wilting. If the plant struggles, it might be overpruned. Next time, go lighter. For woody plants, a light pruning every 6 months keeps them healthy without shocking the system. Keep your tools clean between uses to avoid spreading disease.
✂️ Step 5: Adjust for Seasonal Needs
Spring pruning focuses on removing dead wood and shaping. Summer pruning encourages bushier growth by pinching back tips. Fall pruning is minimal—just clean up dead or diseased branches. Evergreens can be pruned lightly in late winter or early spring before new growth starts.
If your plant is a fruit-bearing shrub, like blueberries or raspberries, prune after harvest to maintain shape and encourage next year’s crop. For flowering plants, prune after blooming to avoid cutting off next season’s flowers. Always research your specific plant’s needs—some, like hydrangeas, bloom on old wood and need different timing.
Tips & tricks for pruning like a pro
Pruning doesn't have to be intimidating—these key insights will help you transform your plants with confidence.
Tool Prep is Everything: Before you start, don't just sterilize your bypass pruners—give them a quick test cut on a piece of paper. If it tears instead of slices cleanly, sharpen your blades immediately. I've ruined perfectly good cuts because I skipped this step, and dull tools create jagged wounds that invite disease. A small investment in sharp tools makes all the difference.
The 45-Degree Angle Secret: When making your cuts in Step 3, that 45-degree angle isn't just for looks—it's a water runoff system. The sloped cut prevents water from pooling at the wound, which dramatically reduces the risk of rot. For thicker branches, focus on cutting just outside the branch collar rather than guessing where the perfect angle should be. This small detail keeps your plant healthier for years.
Seasonal Timing Matters More Than You Think: The instructions mention spring and summer as ideal times, but here's what nobody tells you: Evergreens actually prefer late winter pruning because they're dormant and won't bleed sap. For flowering shrubs, timing depends on whether they bloom on old or new wood—hydrangeas need different treatment than roses. Always research your specific plant's blooming habits before you start cutting. This one mistake can ruin your entire season's flowers.
Cleanup Prevents Reinfection: Those pruned branches might look harmless, but they're disease magnets. I learned this the hard way when my compost pile became a fungal breeding ground. Always toss diseased material in the trash—not the compost—and consider burning severely infected branches if possible. After pruning, give your tools a quick wipe with rubbing alcohol between cuts to prevent cross-contamination. Your plants will thank you with healthier growth.
Pro Tips for Prune A Plant
- Pruning doesn't have to be intimidating—these key insights will help you transform your plants with confidence.
- Tool Prep is Everything: Before you start, don't just sterilize your bypass pruners—give them a quick test cut on a piece of paper.
- The 45-Degree Angle Secret: When making your cuts in Step 3, that 45-degree angle isn't just for looks—it's a water runoff system.
Frequently asked questions
Got questions about pruning? You’re not alone—even experienced gardeners need a refresher now and then! Here are answers to the most common concerns to help you prune like a pro.
When is the best time to prune my plant?
The ideal time depends on the plant type. For spring-flowering shrubs (like lilacs), prune right after blooming. Summer-bloomers (e.g., roses) benefit from light trims after flowering. Evergreens and fruit trees often get pruned in late winter or early spring before new growth starts. Avoid heavy pruning in fall—it stresses plants before dormancy.
How do I know if I’m cutting too much?
Follow the “one-third rule”: Never remove more than 1/3 of a plant’s foliage in a single session. Over-pruning shocks the plant, weakens growth, and may invite pests. If you’re unsure, take photos before cutting—compare them to healthy reference images online. Slow and steady wins the pruning game!
Can I prune a plant in winter?
It depends! Dormant plants (like deciduous trees) tolerate winter pruning, but avoid cutting in extreme cold or frost. Evergreens and spring-blooming plants should wait until warmer months. If you must prune in winter, do it on a mild, dry day to prevent disease. Pro tip: Wait until buds swell for the safest cuts.
What’s the difference between pruning and trimming?
Pruning is strategic—removing dead, diseased, or overcrowded branches to improve structure and health. Trimming is cosmetic, like shaping hedges or tidying up overgrowth. Both use similar tools, but pruning follows growth rules (e.g., cutting at nodes), while trimming is more about aesthetics. Need both? Start with pruning first!
My plant is bleeding sap after pruning—is this normal?
Yes! Some plants (like maples, birches, and dogwoods) ooze sap when cut—it’s harmless and won’t harm the plant. To minimize mess, prune on a dry day and use sharp tools for clean cuts. If you see dark, oozing sap or fungus, your plant may be stressed or diseased. In that case, sterilize tools and prune only the affected areas.
What if I accidentally prune too much?
Don’t panic! Most plants bounce back with time. Water deeply and avoid fertilizing for a few weeks to reduce stress. If the plant is severely damaged, focus on new growth—healthy shoots will emerge from buds. For container plants, a light trim of fresh growth can encourage fullness. Patience is key!
Wrapping up and next steps
Pruning isn’t just about trimming—it’s a powerful way to boost your plant’s health, shape its growth, and even encourage bountiful blooms. 🌱 Whether you’re a seasoned gardener or just starting, the key is patience, the right tools, and a little know-how.
Now that you’re armed with techniques for when, how, and why to prune, it’s time to roll up your sleeves and give your green friends the care they deserve!
Ready to see the difference? Start with one plant this week—pick a branch, make a clean cut, and watch your garden thrive! 🌿 For even more tips, explore our pruning guide or join a local gardening group to share your progress.