Shrubs
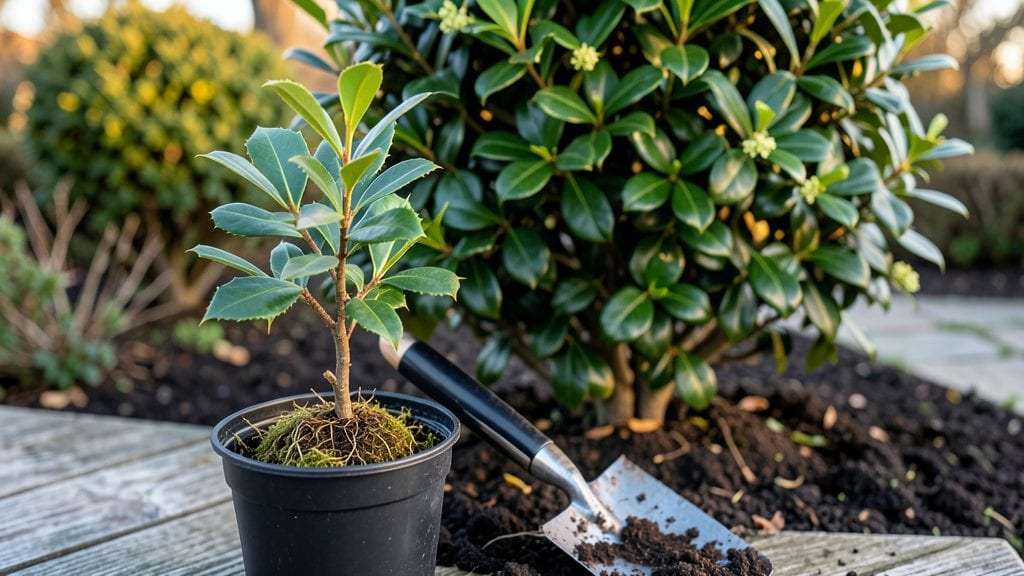
Planting evergreen bushes transforms your yard from seasonal to year-round structure—and I’ve learned the hard way that spacing makes all the difference. 🌿 The wrong distance between plants leads to overcrowding, stunted growth, or worse, bushes that look like they’re fighting for sunlight.
My first attempt with arborvitae ended with three plants competing for space, leaving bare spots that ruined the look.
Start with the right location—evergreens thrive in full sun to partial shade, but check your microclimate first. Sandy soil drains too fast? Amend it with compost. Clay too dense? Mix in perlite. Dig holes twice as wide as the root ball but only as deep—planting too deep suffocates roots.
A foolproof spacing rule: measure the plant’s mature width and space them half that distance apart. For example, a 6-foot mature shrub needs 3 feet between plants.
After planting, water deeply to settle the soil and keep it moist for the first two weeks. Mulch with 2-3 inches of pine straw or shredded bark to retain moisture and block weeds.
The payoff? Bushes that fill in quickly, stay healthy through droughts, and create that lush, ever-present backdrop you’ve always wanted. Here’s how to avoid the mistakes that trip up even experienced gardeners.
Seasonal timing matters too—spring and fall are ideal, but avoid extreme heat or frost. If you’re planting in summer, water more frequently. And don’t forget: evergreens grow slowly at first, so resist the urge to crowd them.
Patience here means a thriving hedge that lasts for decades. Let’s get those bushes planted right the first time.
📚 In This Guide
- What you need
- Instructions
- Tips and common mistakes
- Wrapping up and next steps
What you need
- ● Evergreen Bushes: Choose 3–5 mature plants (depending on desired spacing). Opt for size-appropriate varieties—e.g., dwarf (1–3 ft), medium (3–6 ft), or large (6+ ft) bushes.
- ● Shovel or Spading Tool: A round-point shovel (for digging) or a transplant spade (for delicate root systems).
- ● Garden Gloves: Heavy-duty, waterproof gloves to protect your hands from thorns or rough soil.
- ● Mulch: 2–3 inches of organic mulch (e.g., pine straw, shredded bark, or wood chips) to retain moisture and suppress weeds.
- ● Watering Can or Hose: A soaker hose or watering wand for gentle, deep hydration.
- ● Pruners: Bypass pruners (for clean cuts) and loppers (for thicker branches).
- ○ Soil Amendment (Optional): Compost or peat moss to improve drainage in heavy clay soil.
- ○ Stakes & Twine (Optional):strong> For young or top-heavy bushes to provide temporary support.
- ● Location Scouting: Pick a spot with 6+ hours of sunlight (or partial shade for shade-tolerant varieties) and well-draining soil.
- ● Soil Test (Recommended): Check pH (ideal: 5.0–7.0) and amend if needed—evergreens thrive in slightly acidic to neutral soil.
- ● Weather Check: Plant on a cool, cloudy day or in early spring/fall to reduce transplant shock.
- ● Clear the Area: Remove weeds, rocks, or debris from the planting zone (aim for a 3-foot radius per bush).
Step-by-Step instructions for planting evergreen bushes
Here’s my battle-tested method for planting evergreens that thrive year-round.
🪴 Step 1: Choose the Right Location and Dig the Hole
Evergreens need full sun to partial shade—most thrive in 6+ hours of sunlight daily, though some varieties tolerate morning sun with afternoon shade. Mark the planting spot with a stake to avoid guessing later. Dig a hole twice as wide as the root ball but only as deep—planting too deep suffocates roots.
Loosen the soil at the bottom of the hole with your hands or a trowel. This prevents compaction when you place the bush in. If your soil drains poorly, mix in 2-3 inches of coarse sand or compost to improve aeration. I always check drainage by filling the hole with water—if it doesn’t drain within 15-20 minutes, amend the soil further.
🌱 Step 2: Prepare the Bush and Plant Correctly
Remove the evergreen from its container and gently tease apart the roots if they’re circling. Trim any broken or mushy roots with clean shears—this encourages new growth. Place the bush in the hole so the top of the root ball sits level with the surrounding soil (never buried deeper). Fill in around the edges with native soil, pressing lightly to eliminate air pockets.
Don’t pack the soil too firmly—you’ll crush delicate roots. Instead, water the hole first, then add soil in 2-inch layers, tamping down gently between each addition. This keeps roots moist while preventing compaction. Step back and check the height—evergreens planted too deep often struggle with rot.
💧 Step 3: Water Deeply and Mulch for Retention
Water the newly planted bush thoroughly until moisture seeps 6-8 inches deep into the soil. You’ll know it’s enough when water runs out the bottom of the hole. After watering, spread 2-3 inches of mulch (like pine straw or shredded bark) in a 3-inch-wide ring around the base—this conserves moisture and regulates soil temperature.
Keep mulch away from the trunk to prevent rot. Water 2-3 times weekly for the first month, then taper to once weekly once established. Overwatering is the #1 killer—evergreens hate soggy roots. You’ll see healthy growth when new needles stay vibrant green and don’t yellow or drop.
✂️ Step 4: Prune for Shape and Health
Wait 4-6 weeks before pruning—this lets the bush recover from transplant shock. Trim only dead or crossing branches in the first year. Use clean, sharp shears to make cuts just above a bud or branch collar. Avoid heavy pruning now—you’ll stress the plant when it’s still adjusting.
Shape lightly in early spring (before new growth) if needed. Never remove more than 1/3 of the foliage in one season. You’ll know pruning is working if the bush fills out evenly and new growth appears bright green and compact. Skip pruning in fall—it invites winter damage.
☀️ Step 5: Monitor and Maintain Year-Round
Check soil moisture monthly—evergreens need consistent hydration but hate waterlogged roots. In winter, shovel snow away from branches to prevent breakage. If needles brown in winter, it’s usually dry air or salt damage—water deeply in late fall to help roots establish before dormancy.
Fertilize once in early spring with a slow-release, balanced formula (10-10-10). Too much nitrogen now causes weak growth. Watch for pests like spider mites—spray with neem oil if you spot webbing or discolored needles. With proper spacing and care, your evergreens will provide year-round structure and privacy for decades.
Tips & tricks for perfect evergreen planting
These battle-tested tricks will help your evergreens thrive for decades—no guesswork required.
Soil Drainage Test: The 15-20 minute drainage test in Step 1 is non-negotiable. I've seen too many evergreens fail because of soggy roots. If water pools after 20 minutes, mix in more sand or compost—this prevents root rot before it starts. For heavy clay soil, consider planting on a slight mound to improve drainage naturally.
Root Ball Leveling: In Step 2, that "level with surrounding soil" rule is critical. Use a level tool or even a straight stick to verify—burying the root ball too deep suffocates the plant, while planting too high leaves roots exposed. Aim for the top of the root ball to be just below ground level when finished.
Watering Strategy: Those 6-8 inches of deep watering in Step 3 might sound like a lot, but it's essential. I use a long-handled shovel to check moisture depth—if it's dry below 6 inches, water again. The mulch ring should stay damp, not soggy, during the first month. A soaker hose works perfectly for this deep watering without disturbing the soil.
Pruning Timing: The 4-6 week wait before pruning in Step 4 gives roots time to recover. I mark my calendar when I plant so I don't accidentally prune too early. For larger bushes, I wait closer to 6 weeks—bigger root systems need more time to establish before stressing the plant with cuts.
Pro Tips for Planting Evergreen Bushes
- These battle-tested tricks will help your evergreens thrive for decades—no guesswork required.
- Soil Drainage Test: The 15-20 minute drainage test in Step 1 is non-negotiable. I've seen too many evergreens fail be...
- Root Ball Leveling: In Step 2, that "level with surrounding soil" rule is critical. Use a level tool or even a straig...
Frequently asked questions
Got questions about planting evergreen bushes? You’re not alone! Here are some of the most common concerns—plus straightforward answers to help you get started with confidence.
When is the best time to plant evergreen bushes?
The ideal window is fall (4-6 weeks before frost) or early spring (before buds swell). Fall planting gives roots time to establish before winter, while spring avoids heat stress. Avoid planting in extreme heat or cold—evergreens hate soggy roots in winter or scorching soil in summer.
How far apart should I space evergreen bushes?
Spacing depends on the mature size of your bushes. Check the tag for expected width/height, then space them 1.5–3 times that distance apart. For example, a 6-foot bush needs 9–12 feet between plants for airflow and growth. Crowding leads to disease and weak branches—pro tip: sketch a layout first!
Do evergreen bushes need special watering after planting?
Yes! Water deeply 2–3 times per week for the first month (or daily in extreme heat). Mulch around the base (2–3 inches) to retain moisture, but keep mulch away from the trunk. Overwatering is worse than underwatering—let the top inch of soil dry out between waterings.
Can I plant evergreen bushes in containers instead of the ground?
Choose large pots (at least 18–24 inches deep) with drainage holes and use well-draining soil. Dwarf varieties (like ‘Blue Rug’ juniper) thrive in containers, but larger bushes may outgrow them. Move containers to protect from harsh winds or winter freezes—evergreens in pots dry out faster!
Why are my evergreen bushes turning brown after planting?
Brown tips or needles often mean transplant shock, overwatering, or pests. Check for:
- Root rot: Yellowing + mushy stems = too much water.
- Spider mites/scale: Tiny webs or sticky residue = hose them off.
- Winter burn: Crispy edges in cold/dry air = mulch and water deeply in late fall.
Wrapping up and next steps
Planting evergreen bushes is a rewarding way to add year-round beauty and structure to your landscape—no green thumb required! 🌿 With the right spacing, soil prep, and care, these hardy shrubs will thrive and keep your outdoor spaces vibrant all season long.
Whether you’re a beginner or a seasoned gardener, your green space is just a few shovels away.
Ready to get started? Pick your favorite evergreens, mark your planting zones, and dig in! Your future self (and your neighbors) will thank you for the lush, low-maintenance curb appeal. 😊