Trees
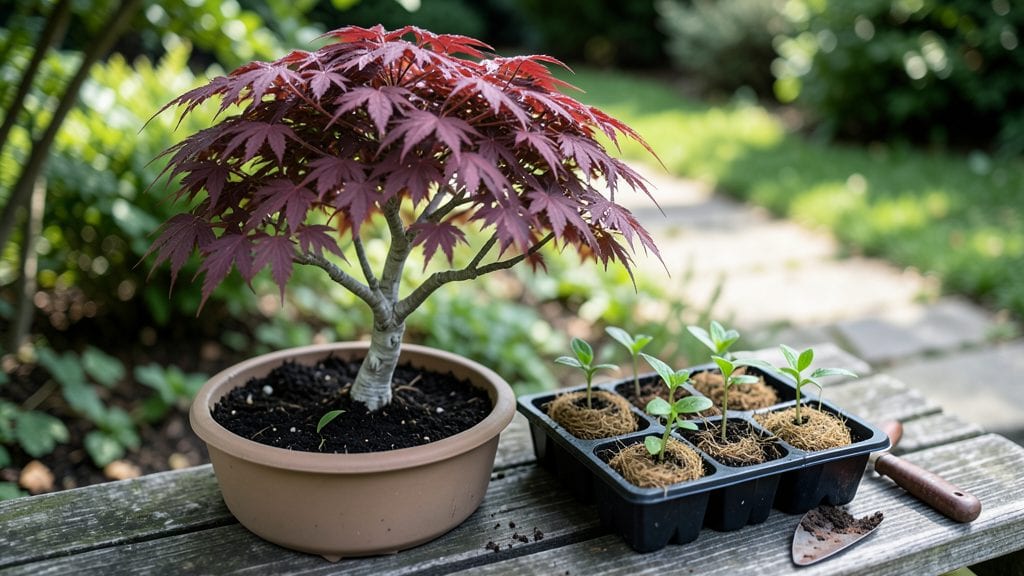
Planting box trees in containers transforms tight spaces into lush, evergreen privacy screens that actually stay green all year. 🌿 I learned the hard way that regular trees won't thrive in boxes—but the right dwarf varieties (like 'Green Gem' or 'Emerald Sentinel') grow just fine with proper prep.
The key is matching container size to root growth, not just slapping a tree in a pot and hoping for the best.
Start with a container at least 18 inches deep and twice as wide as the root ball, with drainage holes that won't clog. Use a well-draining mix of 60% potting soil, 30% perlite, and 10% compost—this prevents soggy roots that strangle growth.
Most boxwoods hate wet feet, and even drought-tolerant varieties need good airflow. Plant in early spring or fall when temperatures are mild, giving roots 6-8 weeks to establish before summer heat or winter cold hits.
After planting, water deeply until it drains from the bottom, then let the top inch dry before watering again. Mulch with 2-3 inches of shredded bark to keep moisture steady and roots cool.
By year two, your box trees will fill out beautifully—3-4 feet tall and wide—creating a dense, fragrant hedge that blocks noise and wind. The best part? They need minimal pruning once established, just a light trim in late winter to shape them up.
This setup works for patios, balconies, or even large pots along driveways. Just avoid overcrowding—space trees 3-5 feet apart for airflow, or they'll develop fungal issues. And skip the cheap plastic containers; cedar or resin boxes last longer and won't crack in freezing temps.
Ready to turn that bare corner into a green wall?
📚 In This Guide
- What you need
- Instructions
- Tips and common mistakes
- Wrapping up and next steps
What you need
- ● Boxwood trees (Buxus spp.) – Choose 10–20 plants per 10 feet of privacy screen (e.g., 20–40 plants for a 20-foot hedge). Opt for dwarf varieties (e.g., 'Green Velvet' or 'Winter Gem') for easier maintenance.
- ● Planting soil or compost mix – 5–10 gallons per tree (blend garden soil with 20–30% compost for drainage).
- ○ Slow-release fertilizer (10-10-10 or 12-12-12) – 1–2 tbsp per plant (optional but recommended for first planting).
- ● Mulch (pine bark or shredded wood) – 2–3 inches to retain moisture and suppress weeds.
- ● Drip irrigation system or soaker hose – Essential for even watering (especially in hot climates).
- ● Garden shovel or spade – For digging holes twice as wide as the root ball.
- ● Wheelbarrow or bucket – To mix soil and compost.
- ● Gloves & knee pads – Because comfort matters!
- ● Measuring tape – To space plants 2–3 feet apart (closer for faster growth).
- ● Pruning shears – For shaping after planting.
- ● Epsom salt (magnesium sulfate) – 1 tbsp per gallon of water for green, vibrant foliage.
- ● Plant stakes or lattice – For support if growing tall varieties.
- ● Organic fungicide (copper-based) – Prevents box blight in humid climates.
- ● Edging material (landscape fabric or metal) – Keeps mulch in place and blocks weeds.
Step-by-step guide to planting box trees for privacy
Here's how to create a lush, evergreen hedge that thrives year-round with minimal fuss.
🪴 Step 1: Choose the Right Location and Spacing
Boxwoods need 6 hours of sunlight daily for best growth, but they tolerate partial shade if you don’t mind slower growth. I always plant mine along property lines or near driveways where they’ll form a natural barrier. For a 4-foot-tall hedge, space plants 3-4 feet apart—this gives them room to fill out without overcrowding.
Dig a hole twice as wide as the root ball but no deeper. Boxwoods hate having their roots buried too deep, which can suffocate them. Loosen the soil at the bottom of the hole with your hands or a trowel to encourage root spread. If your soil is heavy clay, mix in a handful of compost to improve drainage.
🌱 Step 2: Plant with Care for Strong Root Establishment
Gently remove the plant from its container and tease the roots outward if they’re circling. This prevents root bound issues later. Place the boxwood in the hole so the top of the root ball sits 1 inch above ground level—settling soil later can bury the stem, which causes rot.
Backfill with native soil, tamping lightly as you go to remove air pockets. Water deeply right after planting to settle the soil and eliminate gaps. I like to add a 2-inch layer of mulch around the base, keeping it away from the stem to prevent moisture buildup. Mulch helps retain soil moisture and suppresses weeds, but don’t overdo it—too much can smother the roots.
☀️ Step 3: Water and Fertilize for Healthy Growth
Water newly planted boxwoods every other day for the first two weeks to help roots establish. After that, water once a week unless you’re in a hot, dry climate, where you may need to water twice weekly. The key is keeping the soil consistently moist but never soggy—boxwoods hate "wet feet."
In early spring, apply a balanced, slow-release fertilizer (like 10-10-10) to encourage lush growth. I skip fertilizing in fall or winter since boxwoods are evergreens and don’t need extra nutrients during dormancy. Prune lightly in late spring or early summer to shape the hedge, but never cut into old wood—boxwoods heal slowly from severe pruning.
✂️ Step 4: Prune and Maintain for Long-Term Privacy
Prune boxwoods twice a year: once in late spring after new growth appears and again in early summer. Use sharp shears to make clean cuts just above a leaf or bud. Avoid heavy pruning—boxwoods respond best to gradual shaping. If you notice brown, crispy edges, it’s usually a sign of drought or sunburn; water more frequently or provide afternoon shade.
Boxwoods are low-maintenance but do benefit from an annual checkup. Remove any dead or diseased branches immediately to prevent spread. In late winter, rake away fallen leaves to reduce pests and diseases. With proper care, your boxwood hedge will stay dense, green, and beautiful for decades—no winter brownouts or messy cleanup required.
Tips & tricks for perfect box tree planting
Here's what I've learned after planting dozens of boxwood hedges—these tricks make all the difference for long-term success.
Sunlight Secret: Those 6 hours of sunlight are non-negotiable for full, lush growth. I've planted in partial shade and while the boxwoods survive, they grow more slowly and develop a sparse look. If your yard has morning sun but afternoon shade, that's perfect—just avoid deep shade areas. For extra protection, consider planting near a south-facing wall that reflects sunlight back onto the foliage.
Root Establishment Hack: When you're planting, don't just drop the boxwood in the hole—give those roots some love! Tease out any circling roots with your fingers before placing in the hole. I also like to add a handful of compost to the bottom of the hole (even if your soil isn't clay) because it gives those roots a nutrient boost right when they need it most. This simple step makes a huge difference in how quickly your boxwoods establish.
Watering Wisdom: The every other day for two weeks watering schedule is crucial, but timing matters just as much. Water in the morning so the foliage has all day to dry out—wet leaves overnight can lead to fungal issues. I use a soaker hose for the first two weeks to deliver water right to the roots without wetting the leaves. After that weekly watering, give each plant about 1 gallon of water—enough to soak down 6-8 inches of soil.
Pruning Precision: Those twice-yearly pruning sessions are your chance to shape your hedge beautifully, but timing is everything. Always prune after new growth appears in spring—this is when boxwoods are most resilient. I like to use sharp, clean shears and make cuts just above a leaf or bud. Never cut into old wood, as boxwoods heal slowly from severe pruning. For a more formal look, I prune again in early summer, but I never remove more than one-third of the foliage in any single season.
Pro Tips for Planting Box Trees
- Here's what I've learned after planting dozens of boxwood hedges—these tricks make all the difference for long-term success.
- Sunlight Secret: Those 6 hours of sunlight are non-negotiable for full, lush growth.
- Root Establishment Hack: When you're planting, don't just drop the boxwood in the hole—give those roots some love!
Frequently asked questions
Got questions about planting box trees for privacy? You’re not alone!
Here are some of the most common concerns—and straightforward answers—to help you get started with confidence.
What’s the best time of year to plant boxwood trees in a privacy screen?
Plant boxwoods in early spring (after the last frost) or fall (4-6 weeks before the first frost). These seasons give roots time to establish before extreme heat or cold. Avoid planting in summer—heat stress can stunt growth.
How far apart should I space boxwood trees for a dense privacy hedge?
For a tight, lush screen, space mature boxwoods 3–4 feet apart (closer for dwarf varieties). If planting smaller saplings, allow 2–3 feet between them. Mulch between rows to retain moisture and suppress weeds.
Are boxwoods prone to pests or diseases? How do I prevent problems?
Boxwoods can attract boxwood blight (a fungal disease) or boxwood leafminers. Prevent issues by:
- Watering at the base (avoid overhead sprinklers).
- Pruning for airflow (remove dense, crowded branches).
- Using neem oil or fungicides if you spot yellowing leaves or sawdust-like frass.
Can I mix boxwoods with other plants for a layered privacy screen?
Pair boxwoods with evergreens like arborvitae or holly for height, or ornamental grasses for texture. For color, add spring bulbs (daffodils) or flowering shrubs (azaleas). Just ensure all plants share similar sunlight and soil needs.
How do I prune boxwoods to keep them shaped and healthy?
Prune twice a year: lightly in late spring (after flowering) to shape, and again in early fall to tidy up. Use sharp, clean shears and avoid cutting into old wood. Never prune more than ⅓ of the plant at once—this can stress it.
Pro Tip:
For faster growth, fertilize boxwoods in early spring with a balanced, slow-release fertilizer (10-10-10). Water deeply 1–2 times per week during the first growing season to help roots spread.
Wrapping up and next steps
Planting boxwood trees in layered planting boxes is a game-changer for year-round privacy—easy on the eyes, tough on maintenance! 🌿 With the right soil, spacing, and care, you’ll enjoy lush, structured greenery that thrives in any season.
Whether you’re a beginner or a seasoned gardener, this low-effort approach delivers high-impact results.
Ready to transform your space? Start small: pick one section of your yard, gather your supplies, and plant your first layer today! Before you know it, you’ll have a privacy paradise that feels like a five-star retreat—without the fuss. Happy planting! 🌱