Watering
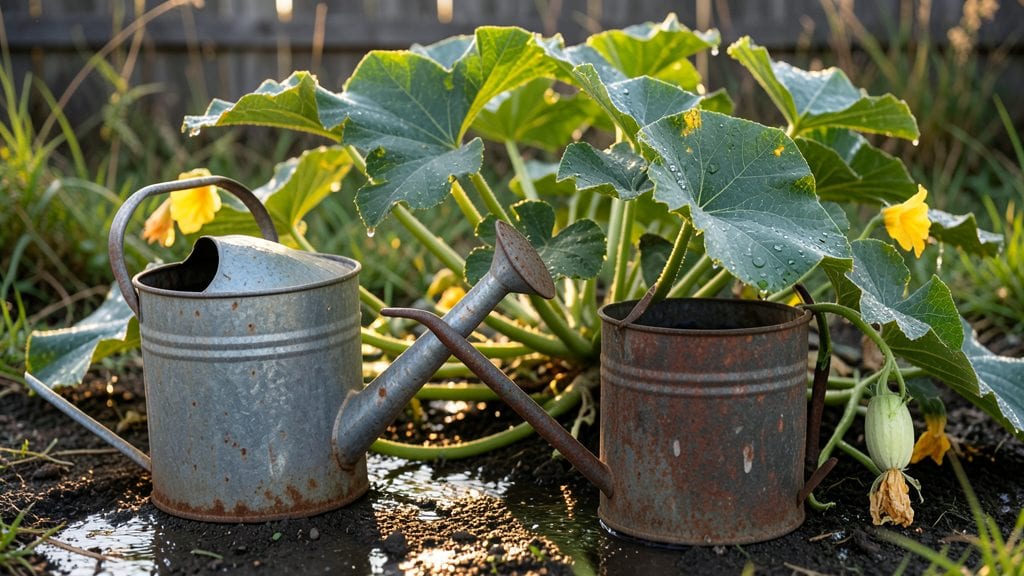
Overwatered squash plants turn your thriving vines into sad, drooping messes faster than you’d think. 🌱 I’ve seen it happen—one heavy watering session, then yellowing leaves, mushy stems, and vines that flop like overcooked noodles.
The good news? You can often revive them in a single day with the right moves.
The problem starts when roots suffocate from too much moisture, cutting off oxygen and inviting fungal infections. Squash plants need their feet to breathe, not drown—especially in hot weather when soil dries faster.
Check the soil first: if it’s soggy two inches down, you’ve overdone it. Drainage is key, but even well-draining soil can get stuck in a rut during rain or overzealous watering.
Here’s the fix: stop watering immediately and let the soil dry out. Gently loosen compacted soil around the base to help roots breathe, and if you see fungal spots, treat with copper fungicide.
Within 24 hours, you’ll notice leaves perking up again as the roots recover. The secret long-term? Water only when the top inch of soil feels dry, and mulch to keep moisture even.
This works for zucchini, summer squash, and pumpkins alike—just adjust for your climate. Once you’ve got the rhythm, your vines will stay strong, productive, and free of that sad, waterlogged slump. Let’s get those plants back in shape!
The Hidden Triggers Behind Wet Roots
Overwatering your squash plants might seem like a harmless mistake—after all, plants need water to thrive, right? But when squash vines start wilting, yellowing, or rotting, the problem often traces back to excessive moisture disrupting their delicate balance.
Understanding the root causes (literally!) helps you adjust your watering habits before damage becomes irreversible. Here’s why it happens:
Squash plants thrive in well-draining soil, but heavy clay, compacted dirt, or amended soil with too much organic matter (like peat moss) can act like a sponge, holding onto water long after the roots have had enough. When excess moisture lingers:
- Oxygen deprivation: Roots need oxygen to absorb nutrients. Waterlogged soil forces roots to "drown," cutting off their ability to take up water and minerals—even if the soil looks wet. Think of it like suffocating a plant’s lifeline.
- Fungal invasions: Stagnant water creates the perfect breeding ground for Phytophthora and Pythium, fungi that rot roots and stems. Look for black, mushy spots or a foul smell near the base of the plant.
- Nutrient lockout: Excess water leaches away essential nutrients (like nitrogen and potassium) that squash plants need for vine strength and fruit production.
Actionable fix: Test your soil’s drainage by digging a hole, filling it with water, and timing how long it takes to drain. If it takes more than 2–3 hours, amend with perlite, coarse sand, or compost to improve airflow.
Squash plants have shallow roots that spread widely, not deeply. When you water too frequently or in large volumes, you risk:
- Surface evaporation: Light, frequent watering keeps the topsoil soggy but doesn’t encourage roots to grow deeper. This makes plants more susceptible to drought stress and overwatering—because shallow roots can’t access moisture in lower layers.
- Weak stem structure: Excessive moisture softens cell walls, causing vines to become floppy or snap under their own weight. This is why overwatered squash often collapses midday.
- Blossom-end rot (indirectly): While this condition is usually calcium-related, waterlogged soil prevents calcium uptake, leading to deformed or rotting fruit.
Actionable fix: Water deeply but infrequently—aim for 1–1.5 inches of water per week (including rainfall), delivered in the early morning. Use a soaker hose or drip irrigation to target roots directly and reduce evaporation.
Potted squash plants are especially vulnerable because containers lack the moisture-buffering capacity of garden soil. Common mistakes include:
- Small or poorly draining pots: A 5-gallon container may suffice for a single plant, but if it lacks drainage holes, water pools at the bottom, causing root rot within days. Even "self-watering" pots can overdo it if not monitored.
- No saucer management: Leaving excess water in saucers (or letting them overflow onto patios) creates a humid microclimate that encourages fungal diseases like powdery mildew.
- Overpotting without adjustments: Larger pots hold more water. If you upgrade containers, reduce watering frequency proportionally.
Actionable fix: Use pots with drainage holes and elevate them on saucers with pebbles to prevent waterlogging. Check soil moisture with your finger—if the top 1–2 inches are damp, wait before watering again.
Even with perfect watering habits, external conditions can turn your garden into a soggy disaster:
- Heavy or prolonged rainfall: Squash plants in raised beds or containers are especially at risk. A single downpour can saturate soil for days, especially if followed by cool temperatures (which slow evaporation).
- High humidity: Warm, damp air prevents soil from drying out between waterings, mimicking the effects of overwatering. This is why southern gardens often struggle with squash vine decline.
- Shade or mulch overload: Thick mulch (like wood chips) or nearby structures (fences, sheds) can trap moisture against the soil. While mulch is great for moisture retention, too much suffocates roots.
Actionable fix: Monitor weather forecasts and adjust watering accordingly. If rain is forecasted, skip scheduled waterings. For containers, move them to drier spots during humidity spikes or use a fan to improve airflow.
By identifying which of these triggers is at play in your garden, you can correct the issue before it’s too late. The key? Balance—giving squash plants just enough water to thrive without drowning their roots.
Quick Fixes for Waterlogged Squash
Overwatered squash plants can feel like a soggy mess, but don’t panic—these vines are resilient! The key is to act fast, adjust your watering habits, and give your plants room to breathe.
Below, we’ll break down the most common causes of overwatering and the practical, step-by-step fixes to revive your squash—plus tips to keep it from happening again.
If your squash plants are sitting in puddles or the soil feels like a swamp, excess moisture is the culprit. Here’s how to dry them out ASAP:
🔥 Step 1: Stop Watering Immediately
- Cut off all water for 24–48 hours to let the soil dry out. This prevents root rot and fungal growth.
- If rain is in the forecast, move pots to a covered area or use a tarp to shield in-ground plants.
👨🍳 Step 2: Improve Soil Drainage
- For potted squash: Lift the pot and check the drainage holes. If clogged, use a wire or skewer to clear them.
If the pot has no holes, repot immediately into a container with drainage. - For in-ground plants: Loosen the soil around the base with a fork or trowel (but avoid damaging roots). Mix in coarse sand, perlite, or compost to improve aeration.
🥘 Step 3: Elevate the Roots (If Needed)
- If the soil is compacted or waterlogged for days, create a slight mound around the base of the plant.
This helps water flow away from the roots instead of pooling. - For containers, consider raising the pot on bricks or a stand to prevent future soggy bottoms.
⏰ Step 4: Monitor and Adjust Watering
- Water only when the top 1–2 inches of soil are dry. Stick your finger in—if it’s damp, wait.
- Morning watering is best. This gives foliage time to dry before evening, reducing fungal risks.
- Use a moisture meter if you’re unsure—it’s a game-changer for squash care!
If your squash is wilting in cool, damp conditions, stagnant air can trap moisture against the leaves. Here’s how to prevent fungal infections like powdery mildew:
💡 Pro Tip: Prune Strategically
- Trim yellow or mushy leaves (signs of rot) with clean pruners. Dispose of them far from the garden to avoid spreading disease.
- Thin out crowded vines to improve airflow.
Aim for 6–12 inches between plants for bush varieties or 3–4 feet for vining types.
🌬️ Increase Air Circulation
- Fan it out! Place a small oscillating fan nearby (on low) for 10–15 minutes daily to dry leaves faster.
- Space mulch wisely. If using mulch, keep it 2–3 inches away from the stem to prevent moisture buildup.
☀️ Sunlight Check
- Move potted squash to a sunnier spot if possible. Squash needs 6–8 hours of direct sun daily—shady spots slow drying and invite pests.
- Reflect light with white gravel or a reflective board if shade is unavoidable.
If the stems are soft, discolored, or pulling away from the soil, root rot may have set in. Act now to save your plant:
🔪 Step 1: Assess the Damage
- Gently tug on the plant. If it slips out easily, roots are rotting. If it resists, there’s still hope!
- Healthy roots are firm and white; rotted roots are mushy, brown, or black.
🌱 Step 2: Trim and Repot (If Possible)
- For potted squash: Remove the plant, rinse the roots under cool water, and trim away any mushy sections with sterilized scissors.
- Repot in fresh, dry soil mixed with perlite or coconut coir for better drainage.
Avoid fertilizing for 1–2 weeks—roots need to recover first. - For in-ground plants: Dig a trench around the plant to improve drainage, then mound dry soil around the base to raise the roots slightly.
💊 Step 3: Fungal Treatment (If Needed)
- Hydrogen peroxide spray (3%): Mix 1 tbsp per quart of water and spray the soil and leaves to kill fungi.
- Neem oil or copper fungicide: Apply according to package instructions to prevent reinfection.
- Avoid watering overhead for at least a week to let the plant dry out completely.
Once your squash is back on track, lock in these habits to avoid future waterlogging:
- 📊 Test your soil: Use a soil moisture meter or the finger test to check dryness before watering. - ✨ Choose the right pot: If growing in containers, pick fabric pots or terracotta—they dry faster than plastic. - 🌡️ Adjust for weather: Reduce watering during rainy spells or high humidity.
A weather app alert can help! - 🍎 Mulch smartly: Use straw or wood chips (not plastic), and keep it away from the stem to prevent rot. - 🔄 Rotate crops: Avoid planting squash in the same spot yearly to prevent soil-borne diseases.
With the right care, drooping squash can perk up in 24–48 hours. If roots are severely rotted, recovery may take 1–2 weeks. Stay patient, keep the soil dry, and watch those vines bounce back! 🌱
Frequently asked questions about soggy squash vines
Why do my squash leaves turn yellow when they’re overwatered?
Yellowing leaves signal nutrient starvation from suffocated roots. When soil stays soggy, roots can't absorb oxygen or nutrients, causing chlorosis (yellowing). Check for mushy stems too—this confirms root rot. The fix? Let soil dry completely between waterings and improve drainage with perlite or sand.
How can I tell if my potted squash has root rot?
Gently tug the plant—if it slides out easily, roots are rotted. Healthy roots resist gently. Look for black, mushy roots (not white/firm) and a foul smell. For containers, check drainage holes too—clogged holes trap water and accelerate rot. If caught early, trim bad roots and repot in fresh, dry soil.
Will my squash recover if I stop watering immediately?
Yes! Most squash bounce back in 24–48 hours if you halt watering and improve airflow. Focus on drying soil (top 2 inches should be dry before watering again) and pruning yellow leaves. For severe cases, recovery may take 1–2 weeks. Monitor closely—wilting that persists beyond 48 hours may indicate permanent root damage.
Can I use coffee grounds to fix overwatered squash?
Coffee grounds help improve drainage when mixed into soil (1 part grounds to 3 parts soil), but they won’t reverse damage. For immediate fixes, focus on drying soil and removing excess moisture. Use grounds as a long-term soil amendment—they add nitrogen and acidity, which can help recovery. Just avoid piling them directly around stems.
What’s the best mulch to prevent future overwatering?
Avoid thick organic mulch (like wood chips) near stems—it traps moisture. Instead, use straw or shredded leaves in a thin layer (1–2 inches) and keep it 3+ inches away from the stem. For containers, skip mulch entirely or use a light layer of coconut coir to wick away excess water.