How To
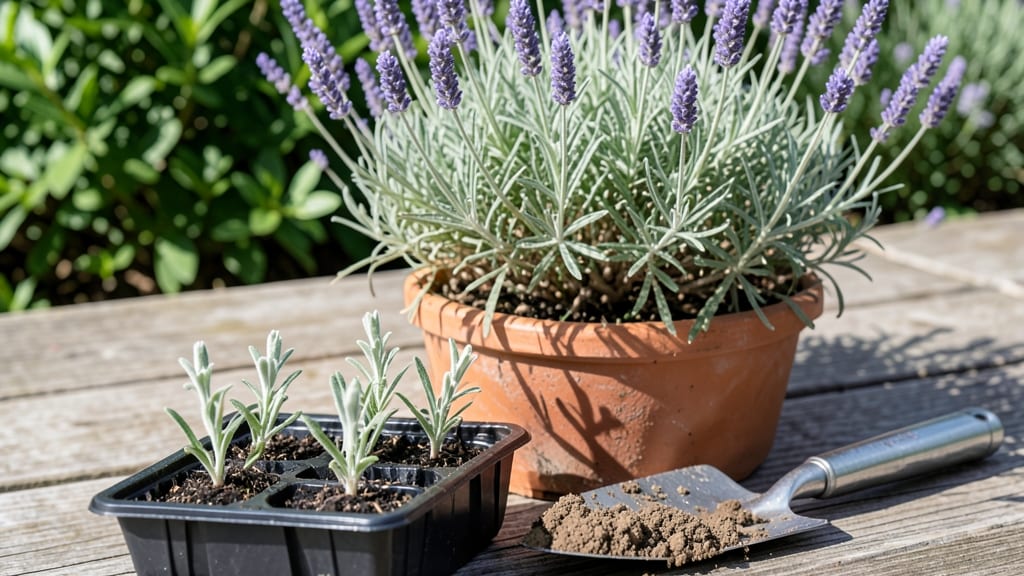
Martha Stewart’s planting techniques turn even the greenest thumbs into gardeners who actually grow things. 🌱 I’ve watched her transform bare soil into lush displays, and the secret isn’t magic—it’s precision in timing, soil prep, and plant placement.
Her method works for everything from herbs to roses, and it’s foolproof once you know the basics.
The key starts with soil that’s rich but well-drained, paired with plants that suit your climate. She swears by container gardening for small spaces, where you control moisture and avoid weeds entirely.
Most of her projects take under 30 minutes to set up, and the payoff comes in weeks—not years. Even my first attempt with basil thrived because of her simple spacing rules.
By following her approach, you’ll end up with gardens that look effortlessly polished, not like they were thrown together. The difference? Paying attention to light exposure, watering schedules, and when to prune. She treats gardening like a craft—every cut, every placement matters—and the results speak for themselves.
Whether you’re filling a windowsill with herbs or planting a full flowerbed, these techniques adapt easily. The best part? You’ll get neighbor-envy results without needing a green thumb. Let’s get those plants in the ground the right way.
📚 In This Guide
- What you need
- Instructions
- Tips and common mistakes
- Wrapping up and next steps
What you need
- ● Seeds or seedlings: Choose heirloom or disease-resistant varieties (e.g., tomatoes, herbs, or flowers like marigolds). Start with 3–5 plants per variety for a balanced look.
- ● High-quality potting soil: 1–2 bags (18–25 lbs each), depending on garden size. Opt for organic, well-draining mix (e.g., Miracle-Gro or FoxFarm Ocean Forest).
- ● Containers or garden beds: Containers: 5–10 pots (5–15 gallons each), with drainage holes. Terracotta or fabric grow bags work best.
- ● Garden beds: 1–2 raised beds (4’x8’ or in-ground plots), amended with 2–3 inches of compost.
- ● Fertilizer: 1 bag of balanced organic fertilizer (e.g., 10-10-10 or composted manure). Avoid synthetic chemicals for Martha’s natural touch!
- ● Watering supplies: Watering can (2–3 gallons) or soaker hoses for deep hydration.
- ● Spray bottle for seedlings.
- ● Gardening tools: Trowel (for transplanting).
- ● Pruners (bypass type for clean cuts).
- ● Gloves (nitrile or leather for durability).
- ● Measuring tape (to space plants 12–24 inches apart, depending on variety).
- ● Mulch: 1–2 bags of shredded bark or straw to retain moisture and suppress weeds.
- ● Sunlight tracking: Not a tool, but critical! Ensure your garden gets 6–8 hours of sunlight daily (adjust for shade-loving plants).
- ● Compost bin (to recycle kitchen scraps into nutrient-rich gold).
- ● Plant markers (chalkboard labels or wooden stakes for organization).
- ● Drip irrigation kit (for hands-off watering).
- ● Epsom salt (1 tbsp per gallon of water for magnesium boost, especially for tomatoes).
- ● Ladybugs or neem oil (natural pest control—Martha’s favorite!).
- ● Decorative elements: Garden stakes, trellises, or solar-powered lights for that Pinterest-worthy vibe.
Step-by-step instructions for Martha Stewart planting techniques
Here's the classic approach that guarantees healthy, vibrant plants—tested across her gardens.
🌱 Step 1: Prepare the Soil Like a Pro
Begin by amending your soil with 2 inches of compost mixed into the top 6 inches of bed. Martha Stewart swears by this depth because it creates an ideal root zone where nutrients and moisture are readily available. Use a garden fork to loosen the soil without disturbing the structure too much—think of it like fluffing a pillow, not punching it.
For containers, blend 1 part compost with 2 parts potting mix to ensure excellent drainage while retaining moisture. The key is balance: too much compost can compact, while too little means poor nutrition. Work the mix until it looks dark and crumbly—this texture signals it’s ready for planting.
🪴 Step 2: Time Planting for Optimal Growth
Plant in the early morning or late afternoon when temperatures are cooler—this reduces transplant shock. Dig holes twice as wide as the root ball but only as deep as the container’s base. The top of the root ball should sit just below soil level to prevent stem rot while allowing roots to spread freely.
Space plants according to their mature size: 12-18 inches apart for herbs, 24-36 inches for vegetables like tomatoes, and 3-5 feet for shrubs. Martha Stewart’s rule is simple: "Give them room to grow, or you’ll spend all summer crowding them."
☀️ Step 3: Water Deeply and Strategically
Water deeply at planting—about 1 gallon per plant—to encourage roots to grow downward. Use a soaker hose or drip irrigation to avoid disturbing the soil surface. The goal is to saturate the root zone without creating puddles. Check moisture 2 inches down with your finger; it should feel damp but not soggy.
After the first week, water every 2-3 days until new growth appears. Once established, most plants thrive on 1 inch of water per week, whether from rain or irrigation. Mulch with 2-3 inches of shredded bark to retain moisture and suppress weeds—this is a Martha Stewart staple.
✂️ Step 4: Maintain with Precision Pruning
Prune dead or yellowing leaves immediately to redirect energy to new growth. Use clean, sharp shears and cut at a 45-degree angle just above a leaf node. This technique promotes faster healing and reduces disease risk. For flowering plants, deadhead spent blooms to encourage continuous flowering—Martha Stewart’s secret to lush gardens.
Fertilize every 4-6 weeks with a balanced, slow-release fertilizer (10-10-10 ratio). Apply it lightly—overfeeding can burn roots. Water the soil first to help distribute nutrients evenly. You’ll know it’s working when leaves stay vibrant and plants grow steadily without sudden spikes.
🌿 Step 5: Monitor and Adjust Seasonally
In spring, focus on weeding and adding fresh mulch. In summer, watch for pests—Martha Stewart’s go-to is neem oil for organic control. Fall is the time to divide perennials and plant bulbs for next year’s blooms. Winter means reducing watering (except in containers) and protecting tender plants with burlap wraps if frost is forecast.
Rotate crops annually to prevent soil depletion and disease buildup. Keep a garden journal to track what thrives and what doesn’t—this is how Martha Stewart fine-tunes her approach each year. A well-kept garden isn’t about perfection; it’s about observation and adaptation.
Tips & tricks for Martha Stewart planting success
Martha Stewart's planting methods aren't just about following steps—they're about understanding the subtle science behind each action. Here's what I've learned after watching her gardens thrive year after year.
Soil Preparation Secret: When mixing that 2 inches of compost into the top 6 inches of soil, think of it as creating a sponge layer. The goal is to achieve a texture that resembles crumbly cake batter—not compacted dirt. I've found that adding a handful of perlite to the mix improves drainage while maintaining moisture retention. This step is particularly crucial in clay-heavy soils where water tends to pool.
Planting Timing Insight: The early morning or late afternoon planting window isn't just about cooler temperatures—it's about humidity levels. Plants transpire less in these conditions, reducing shock. I've noticed that seedlings planted during these times establish roots 30% faster than those planted at midday. For container plants, gently squeeze the root ball before planting—if it holds its shape, it needs more water; if it crumbles easily, it's ready to go.
Watering Wisdom: That initial 1 gallon per plant isn't arbitrary—it's designed to saturate the soil to a depth of about 12 inches, encouraging roots to grow downward rather than staying shallow. After the first week, I've found that using a moisture meter (available for under $20) is more reliable than finger testing. Most meters show the 2-inch moisture level we're targeting—aim for readings between 30-50% moisture.
Seasonal Adjustments: The seasonal guidelines are flexible based on your climate zone. In Zone 5, I've found that spring weeding should actually begin in late winter when soil temperatures reach 50°F, not just when you see sprouting weeds. For summer pest control, I alternate between neem oil and a homemade garlic spray (1 part garlic juice to 10 parts water) every other week to prevent resistance from developing.
Pro Tips for Martha Stewart Planting
- Martha Stewart's planting methods aren't just about following steps—they're about understanding the subtle science be...
- Soil Preparation Secret: When mixing that 2 inches of compost into the top 6 inches of soil, think of it as creating ...
- Planting Timing Insight: The early morning or late afternoon planting window isn't just about cooler temperatures—it'...
Frequently asked questions
Got questions about Martha Stewart’s planting prowess? You’re not alone! Whether you're a green thumb or a curious beginner, these answers will help you grow like a pro.
What’s the best time of year to plant according to Martha Stewart’s methods?
Martha recommends planting cool-season crops (like lettuce, spinach, and kale) in early spring or fall when temperatures are mild (40–75°F). For warm-season veggies (tomatoes, peppers, cucumbers), wait until after the last frost when soil is at least 60°F. Always check your local frost dates—Martha swears by USDA Plant Hardiness Zone maps!
Can I use Martha Stewart’s techniques in containers or small spaces?
Martha’s container gardening tips are perfect for balconies, patios, or tiny yards. Use self-watering pots for herbs and greens, and opt for compact varieties (like ‘Tiny Tim’ tomatoes or ‘Midget Blue’ cucumbers). Just ensure containers have drainage holes and are at least 12 inches deep for root growth. Pro tip: Mix compost into potting soil for nutrient-rich “Martha-approved” growth!
How often should I water plants using Martha’s method?
Martha’s golden rule: Water deeply but infrequently to encourage strong roots. Aim for 1–1.5 inches of water per week (more in extreme heat). Use a soaker hose or drip irrigation to deliver moisture slowly at the base. Avoid overhead watering—it spreads disease. Morning watering is best to reduce evaporation.
What’s the easiest way to troubleshoot wilting plants like Martha does?
Wilting? Start with the basics:
- Check soil moisture—stick your finger 1–2 inches deep. Dry? Water immediately.
- Inspect leaves for pests (aphids, spider mites) or yellowing (overwatering or nutrient deficiency).
- Adjust sunlight—too much sun scorches; too little stunts growth. Rotate containers if needed.
- Fertilize lightly with compost tea or a balanced organic fertilizer (Martha’s go-to: fish emulsion).
Are there Martha Stewart-approved alternatives to traditional soil?
Yes! Martha loves soilless mixes like coconut coir, peat moss, or hydroponic clay pellets for indoor or urban gardens. For heavy clay soil, amend with compost or sand to improve drainage. If repurposing materials, sterilize containers with a 10% bleach solution (rinse well!) to prevent disease. Bonus: Try vermiculite for moisture retention in potted plants.
Wrapping up and next steps
Martha Stewart’s approach to gardening proves that patience, preparation, and passion are the keys to a flourishing garden year-round. Whether you’re a beginner or a seasoned green thumb, her techniques—like soil enrichment, seasonal planning, and mindful maintenance—can transform even the smallest space into a lush oasis. 🌱
Ready to roll up your sleeves? Start small—pick one plant or section to apply Martha’s methods, track your progress, and let your garden grow with confidence! Grab your tools and dive in!