Pruning
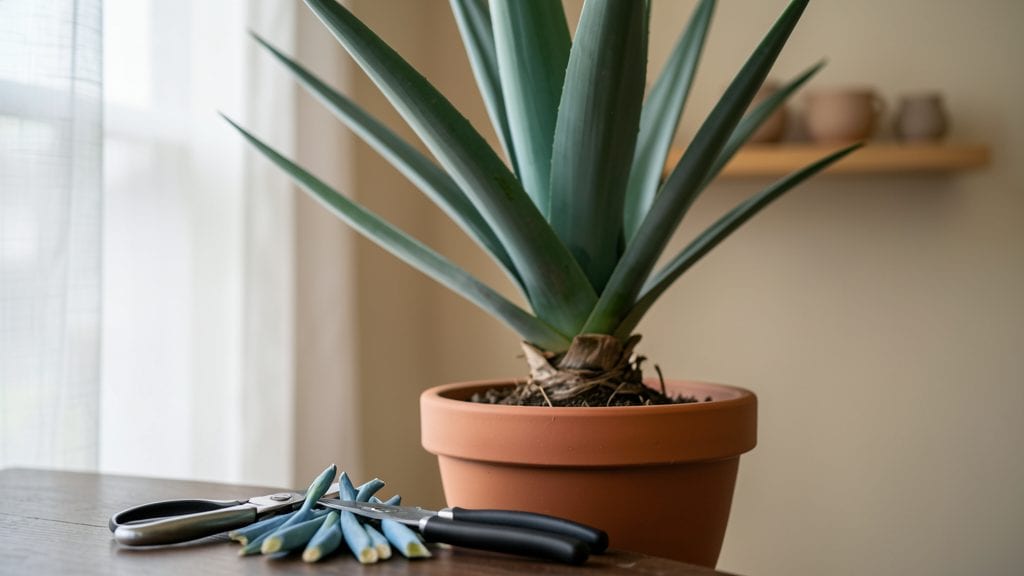
Yucca plant trimming transforms a scraggly, overgrown mess into a sleek, year-round showstopper. ✨ I’ve trimmed my own yuccas for years, and the difference between a neglected plant and one that thrives comes down to a few sharp cuts at the right time.
The best part? You don’t need fancy tools or a green thumb—just a little patience and the right technique.
Timing is everything: prune after flowering in late spring or during dormancy in late fall. Grab a clean pair of pruning shears or loppers, disinfect them with rubbing alcohol, and cut just above a leaf node where new growth can sprout.
Avoid cutting into old, woody stems—focus on dead, damaged, or overcrowded branches first. This isn’t just about looks; better air circulation means fewer pests and diseases, too.
After trimming, your yucca will reward you with fresh, vibrant growth within weeks. The plant redirects energy to new shoots, often producing thicker foliage and even more dramatic blooms next season. Just avoid over-trimming—never remove more than a third of the plant at once.
With the right cuts, your yucca will stay lush, compact, and ready to handle whatever the seasons throw at it.
Works for both indoor and outdoor yuccas, from dwarf varieties to towering landscape specimens. Here’s how to keep yours looking its best all year—no guesswork, just results. Let’s get those shears ready!
📚 In This Guide
- What you need
- Instructions
- Tips and common mistakes
- Wrapping up and next steps
What you need
- ● Pruning shears or bypass pruners: Sharp, clean, and sterilized (7-inch blades recommended for medium-sized yuccas). Quantity: 1 pair.
- ● Disinfectant (rubbing alcohol or bleach solution): 1:9 ratio of bleach to water for sterilizing tools between cuts.
- ○ Gloves (gardening or cut-resistant): Protects hands from sharp edges and sap (optional but highly recommended for sensitive skin).
- ● Pruning saw (for thick stems): Only needed if trimming very mature yucca stems (3+ inches in diameter). Quantity: 1.
- ● Compost or mulch: For disposing of trimmings or enriching soil post-pruning. Quantity: Small bag or bin.
- ● Watering can or hose: To hydrate the plant before and after trimming.
- ● Hand pruners (smaller, for fine cuts): Useful for delicate trimming near the base.
- ● Plant food or fertilizer: Light dose to boost recovery after major pruning.
- ● Spray bottle with water: Keeps tools clean during the process.
- ● Camera or phone: Document your yucca’s progress before/after!
Step-by-Step instructions for yucca plant trimming
Here's the method I use to keep my yucca thriving—clean cuts, no guesswork, just healthy growth.
✂️ Step 1: Gather Tools and Identify Problem Areas
Start with a sharp pair of pruning shears or a clean knife—dull blades tear instead of cutting cleanly. I always sterilize my tools with rubbing alcohol first to prevent spreading disease. Look for dead, brown leaves at the bottom or any leggy growth stretching too far from the center. These are your targets.
Run your fingers along the stems to feel for soft, mushy spots—these indicate rot. Healthy tissue should feel firm. If you spot any yellowing or blackened areas, mark them for removal. This is the moment that matters: you're not just trimming, you're shaping the plant's future.
✂️ Step 2: Make Clean Cuts at the Right Spots
Cut just above a leaf node or growth point—this is where new shoots will emerge. For dead leaves, trim at the base where they meet the stem. I like to make my cuts at a 45-degree angle about ¼ inch above the node to prevent water from pooling. Never leave stubs—they attract pests and rot.
If you're removing a large branch, cut through the thickest part of the stem. Yuccas store water, so the sap may ooze—this is normal. Wipe away any excess with a damp cloth. Real talk: if you're unsure where to cut, err on the side of leaving more plant than you think you need. You can always trim more later.
🌿 Step 3: Remove and Dispose of Trimmings Properly
Place all cuttings in a sealed bag or container—yucca sap can stain surfaces and attract pests. I always wear gloves when handling large pieces because the sap can irritate skin. Never compost diseased or rotten material; throw it in the trash instead. This prevents spreading pathogens to other plants.
If you're propagating from cuttings, let them dry out for 24 hours before planting. This helps prevent rot when you root them later. For now, just focus on cleaning up the parent plant. You'll know you're doing it right when the base looks tidy and the remaining leaves are all healthy green.
💧 Step 4: Water and Monitor for Recovery
After trimming, water the plant lightly—just enough to settle the soil. Yuccas are drought-tolerant, so overwatering now will do more harm than good. Wait until the top 2 inches of soil feel dry before watering again. This usually takes about 5-7 days depending on your climate.
Keep the yucca in bright, indirect light for a week or two after trimming. You'll see new growth emerging from the nodes within 4-6 weeks. If you notice any yellowing on the remaining leaves, it's usually just the plant adjusting—don't panic. This is normal recovery.
☀️ Step 5: Resume Normal Care and Repeat as Needed
Once the plant shows new growth, you can return it to its usual full sun spot. Yuccas thrive with 6+ hours of direct sunlight daily, so don't keep it in shade long-term. I trim my yucca once a year in early spring to encourage fresh growth before the active growing season.
If you're dealing with a severely overgrown plant, you might need to trim it twice a year—once in spring and again in early fall. The key is to never remove more than ⅓ of the plant at a time. This ensures it doesn't go into shock. You'll know you're keeping it healthy when it consistently produces new shoots and maintains a compact shape.
Tips & tricks for perfect yucca plant trimming
A few simple techniques will help you trim your yucca like a pro—keeping it healthy and looking its best for years to come.
Tool Prep Matters: Sterilizing your tools with rubbing alcohol isn't just about hygiene—it's about preventing infections that can spread through your plant. I learned this the hard way after seeing a perfectly healthy yucca develop brown spots weeks after trimming. Always sterilize before and after each plant to avoid cross-contamination. For extra protection, wear gloves when handling large pieces, as yucca sap can irritate skin and leave stains.
The 45-Degree Angle Secret: That 45-degree angle in Step 2 isn't arbitrary—it creates a natural water runoff path that prevents moisture from pooling at the cut site. When you make clean cuts at this angle about ¼ inch above the node, you're actually helping the plant heal faster by reducing the risk of rot. If you're unsure about the angle, practice on a scrap piece of wood first to get the feel.
24-Hour Drying for Propagation: The 24-hour drying period for cuttings in Step 3 is critical for preventing rot when you're ready to propagate. This allows the cut ends to callus over, creating a protective barrier. Don't skip this step—even if you're not planning to root the cuttings immediately. Place them in a dry, shaded area away from direct sunlight during this time for best results.
Recovery Lighting: After trimming, keeping your yucca in bright, indirect light for a week or two helps it recover without stressing the plant. Too much direct sunlight during this period can cause sunburn on new growth, while too little light can slow down recovery. A north-facing window or a grow light on low setting works perfectly. You'll notice new shoots emerging from the nodes within 4-6 weeks if all conditions are right.
Pro Tips for Yucca Plant Trimming
- A few simple techniques will help you trim your yucca like a pro—keeping it healthy and looking its best for years to come.
- Tool Prep Matters: Sterilizing your tools with rubbing alcohol isn't just about hygiene—it's about preventing infections that can spread through your plant.
- The 45-Degree Angle Secret: That 45-degree angle in Step 2 isn't arbitrary—it creates a natural water runoff path that prevents moisture from pooling at the cut site.
Frequently asked questions
Got questions about trimming your yucca plant like a pro?
You’re in the right place! Here are the most common queries—plus clear, actionable answers to keep your plant thriving.
When is the best time to trim a yucca plant?
The ideal time to trim your yucca is late winter or early spring, just as new growth begins. Avoid trimming in fall or winter, as the plant is dormant and more vulnerable to stress. If you spot dead or damaged leaves year-round, remove them promptly to prevent pests or disease.
How do I trim a yucca plant without killing it?
Use sterilized pruners and cut just above a leaf node (the bump where leaves grow). Never trim more than 1/3 of the plant at once, and avoid cutting into the thick, woody stem—this can harm the plant. If you’re unsure, start small and monitor for new growth.
What should I do if my yucca plant turns brown after trimming?
Brown leaves after trimming are usually normal—it’s the plant’s way of shedding old growth. However, if browning spreads rapidly or the stems look mushy, you may have over-pruned or introduced a fungal issue. Stop trimming, reduce watering, and ensure good airflow. If the problem persists, check for pests.
Can I propagate my yucca plant from trimmings?
Healthy trimmings with at least 3-4 leaf nodes can root in water or soil. Let cuttings dry for 1-2 days to callus over, then place in well-draining soil or water. Keep them in bright, indirect light and mist occasionally. Roots should appear in 4-6 weeks!
How often should I trim my yucca plant?
Yuccas are low-maintenance—trim once a year (late winter/early spring) for general upkeep. Remove dead or damaged leaves anytime they appear. Over-trimming stresses the plant, so focus on quality over frequency. If your yucca is young or recovering, skip annual trims entirely.
Wrapping up and next steps
Trimming your yucca plant isn’t just about aesthetics—it’s a game-changer for its health, growth, and longevity! 🌿 With the right tools, timing, and technique, you’ll encourage vibrant blooms, prevent pests, and keep your plant thriving year-round.
Whether you’re a seasoned gardener or a beginner, every precise cut brings your yucca one step closer to its full potential.
Ready to give your yucca the care it deserves? Grab your pruners and start trimming today! For extra confidence, revisit our FAQ section or watch a quick tutorial—your yucca will thank you with lush, happy growth. 🌟