Pruning
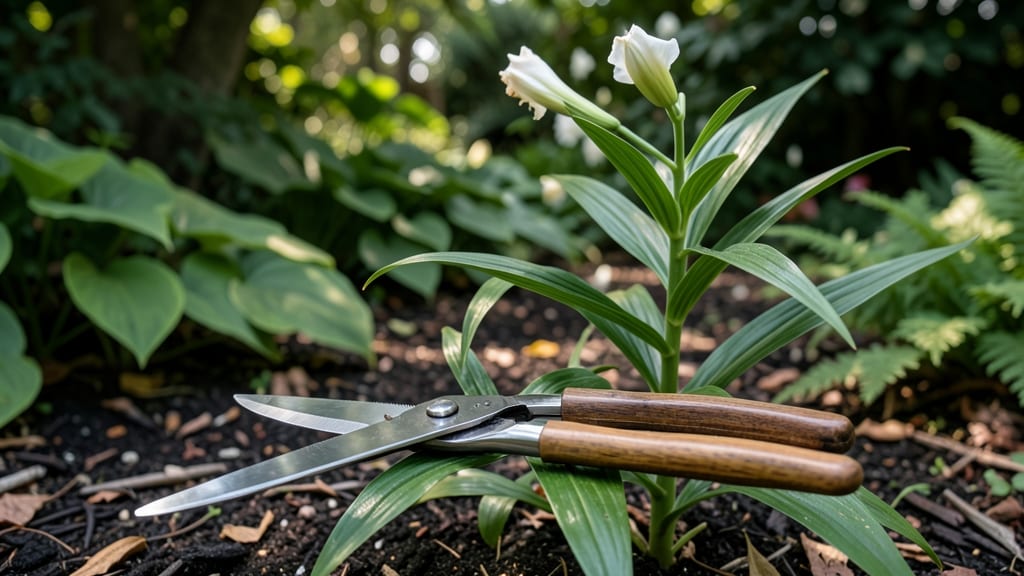
Trimming lily plants at the right time turns floppy stems into thick, blooming bushes. ✨ I learned the hard way—skipping this step left my daylilies looking ragged by summer’s end. The secret? Cutting back after blooms fade and again in late fall to protect the bulbs.
You’ll need sharp pruners, gloves, and a clear day—no soggy soil or you’ll risk disease. For true lilies, snip spent flower stalks down to the base; for daylilies, trim leaves back by half after blooming. Always sterilize your tools between cuts to keep your garden healthy.
After trimming, your plants will bounce back with fresh growth within weeks. Daylilies reward you with bold foliage, while true lilies store energy for next year’s show. Just avoid cutting too late in the season—wait until foliage yellows before your final trim.
This works for both types, but adjust timing based on your climate. In cold zones, wait until after the first frost; in mild areas, trim in early winter. Your lilies will thank you with bigger blooms and fewer pests next season.
📚 In This Guide
- What you need
- Instructions
- Tips and common mistakes
- Wrapping up and next steps
What you need
- ● Sharp bypass pruners (1 pair) – Dull blades can crush stems; opt for blank">bypass-style pruners with a 5-inch blade for clean cuts.
- ● Clean, sterilized pruning shears (1 pair) – Rubbing alcohol (70% isopropyl) or a 10% bleach solution to disinfect blades before/after use.
- ● Garden gloves (1 pair) – Nitrile or leather gloves (size medium/large) to protect against thorns and sap irritation.
- ● Garden twine or plant ties (1 roll) – For supporting stems if heavy blooms or wind is a concern.
- ○ Disposable gloves or trash bags – For collecting pruned debris (optional but handy!).
- ● Identify the right time – Trim lilies after blooming (late summer/early fall) or early spring before new growth. Avoid trimming during dormancy (winter).
- ● Gather plant info – Know your lily type (e.g., blank">Asiatic, Oriental, or Stargazer)—some varieties respond better to specific trimming techniques.
- ● Clear the workspace – Lay down a tarp or newspaper to catch debris and keep your garden tidy.
- ● Hand lens or magnifying glass – For spotting pests or disease early.
- ● Pruning sealant – Like blank">tree wound pruning paste (for large cuts only).
- ● Compost bin – To recycle healthy pruned stems as nutrient-rich mulch.
- ● Spray bottle with water – To rinse tools and stems if sap is sticky.
Step-by-Step guide to trimming lily plants for healthier growth
Here's how to revive your lilies with clean, strategic cuts that encourage lush foliage and vibrant blooms.
✂️ Step 1: Identify and Remove Dead or Damaged Foliage
Start by inspecting your lilies for any brown, yellow, or mushy leaves—these are clear signs of disease or pests. Grab your pruning shears and snip these off at the base, making a clean cut just above a healthy leaf node. I always work from the bottom up, removing anything that looks compromised before it spreads.
Don’t skip this step—dead leaves trap moisture and invite fungal infections. You’ll know you’re doing it right when only the vibrant, green leaves remain. If a stem is completely brown and hollow, cut it back to the ground entirely. This might seem drastic, but it redirects the plant’s energy toward new growth.
✂️ Step 2: Prune Spent Blooms and Seed Pods
After your lilies finish blooming, the flower stalks will turn brown and develop seed pods. These pods drain energy from the plant, so snip them off at the base with your pruning shears. Cut just above a leaf node or side shoot to encourage branching. I like to do this in late summer when the blooms have faded but before the foliage yellows.
Watch for new side shoots emerging from the base—these are your plant’s way of producing more blooms next season. If you see any, leave them be. Removing spent blooms now ensures your lilies store energy in their bulbs for a stronger display next year.
✂️ Step 3: Thin Overcrowded Stems for Better Airflow
Lilies can get leggy or produce too many stems, which weakens the plant and blocks airflow. If you have more than three strong stems per bulb, remove the weakest ones at the base. Use your pruning shears to make a clean cut, and avoid tearing the foliage—this can introduce infections.
You’ll notice a difference almost immediately: the remaining stems will stand taller and sturdier. This also prevents pests like aphids from hiding in dense foliage. If your lilies are clustered tightly, gently separate the bulbs now while trimming—this reduces competition for nutrients.
⏰ Step 4: Cut Back Foliage After It Turns Yellow
Once the leaves turn completely yellow in late fall, it’s time for the final trim. Use your pruning shears to cut the foliage back to about 2 inches above the ground. This might seem counterintuitive, but leaving too much foliage can rot over winter and attract slugs.
I always do this after the first frost, when the soil is cooler. The remaining stubble helps protect the bulb during winter. If you’re in a mild climate, you can wait until spring to trim, but in colder regions, cutting back now prevents winter damage.
🌱 Step 5: Clean Up Debris and Disinfect Tools
After trimming, gather all the clippings and dispose of them in the trash—not the compost. Lily debris can harbor fungal spores that survive decomposition. Then, wipe down your pruning shears with rubbing alcohol to disinfect them before storing.
This final step is non-negotiable. A quick clean-up now saves you from battling fungal diseases later. I keep my tools in a dry place until next season, and they’re always ready for another round of precision trimming.
Tips & tricks for perfect lily plant trimming
Precision trimming transforms your lilies from struggling survivors to showstopping stars—here's what I've learned after years of trial and error.
The Cutting Angle Matters: When you make your cuts in Step 1 and Step 2, angle them slightly downward at about a 45-degree angle. This prevents water from pooling on the cut surface, which drastically reduces the risk of fungal infections. I've seen plants recover beautifully after this simple adjustment—it's a game-changer for plant health.
Timing is Everything for Step 4: That 2-inch height recommendation isn't arbitrary—it's the perfect balance. Cutting too low exposes the bulb to cold, while leaving too much foliage invites slugs and winter rot. I always mark the 2-inch spot with a small stake before trimming to ensure consistency across all plants. This small habit saves me from uneven cuts every year.
Tool Sharpness Makes All the Difference: Dull pruning shears crush stems instead of making clean cuts, which can damage the plant tissue and create entry points for disease. Before you start, run your shears along a piece of paper—if it doesn't cut cleanly, sharpen your blades. I keep a small sharpening stone in my gardening toolkit specifically for this purpose.
Seasonal Trimming Calendar: Create a simple checklist for each season: early summer for Step 1, late summer for Step 2, early fall for Step 3, and late fall for Step 4. I keep this posted near my gardening tools as a reminder. Timing these cuts properly ensures your lilies get the maximum benefit from each trimming session.
Pro Tips for Trim Lily Plant
- Precision trimming transforms your lilies from struggling survivors to showstopping stars—here's what I've learned after years of trial and error.
- The Cutting Angle Matters: When you make your cuts in Step 1 and Step 2, angle them slightly downward at about a 45-degree angle.
- Timing is Everything for Step 4: That 2-inch height recommendation isn't arbitrary—it's the perfect balance.
Frequently asked questions
Got questions about trimming your lily plants?
You’re not alone! Here are answers to the most common concerns—from timing to tools—to keep your lilies thriving and blooming beautifully.
When is the best time to trim lily plants?
Trim lilies after they’ve finished blooming in late summer or early fall. For tropical lilies, prune lightly in spring to encourage new growth. Avoid cutting back hard in winter—wait until new shoots appear. Pro tip: Never trim more than one-third of the foliage at once!
Can I trim lilies too much?
Yes! Over-trimming weakens the plant, reducing next year’s blooms. Stick to removing only dead, yellowed, or damaged leaves/stems. For bulb lilies, leave at least half the foliage until it yellows naturally in fall—this fuels energy storage for future growth.
What if my lilies aren’t blooming after trimming?
Lilies need time to recover. If they skip blooms, check for these fixes:
- Ensure they get 6+ hours of sun daily.
- Fertilize lightly with bulb-specific food in spring.
- Water deeply but avoid soggy soil.
Can I propagate lilies from trimmings?
Not directly, but you can divide clumps! Dig up mature lilies in fall, separate bulbs with attached roots, and replant. For stem cuttings (like daylilies), take 4–6 inch sections with leaves, dip in rooting hormone, and plant in moist soil. Best time: Early spring or fall.
How do I clean tools after trimming lilies?
Disinfect shears with rubbing alcohol or a 10% bleach solution to prevent disease spread. Rinse thoroughly and dry between cuts. Why? Lilies can carry fungal spores—clean tools = healthier plants!
Wrapping up and next steps
Trimming your lily plants isn’t just about tidying up—it’s the secret to vibrant blooms and lush growth all year long! 🌸 By mastering the right techniques, timing, and tools, you’ll encourage healthier stems, more flowers, and even pest resistance.
Whether you’re pruning for aesthetics or function, remember: confidence comes with practice.
Ready to transform your garden? Start small—pick one plant, grab your shears, and follow the steps you’ve learned. Before you know it, your lilies will be the envy of the neighborhood! Happy trimming! 🌿✂️