Planting
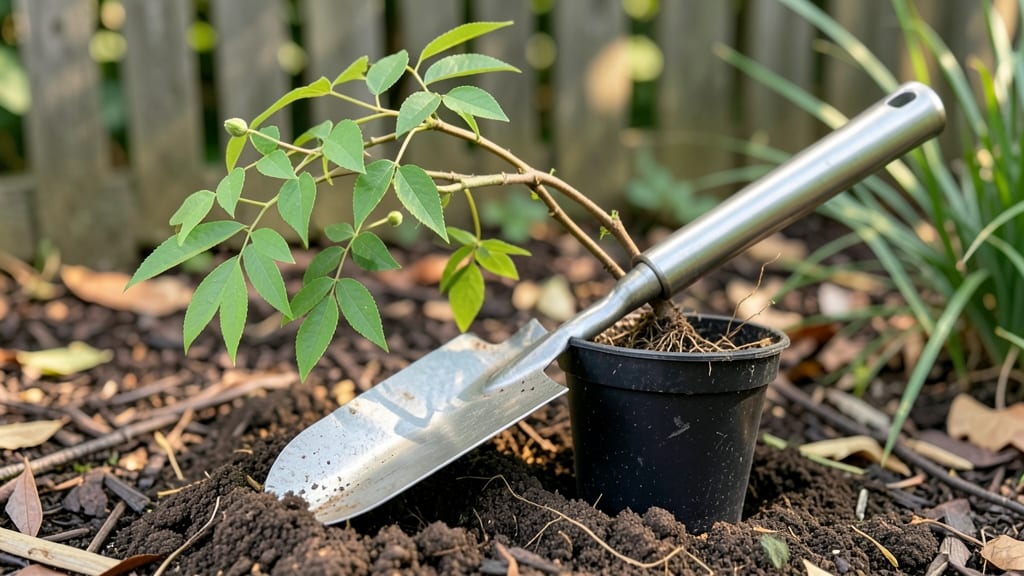
Transplanting wisteria plants the right way means you’ll see those signature purple blooms return twice as fast next spring. 🌿 I’ve moved wisteria twice myself—once by accident (a landscaping crew) and once on purpose—and the difference in recovery time was night and day.
The secret isn’t brute force; it’s timing, root care, and a little strategic pruning.
You’ll need sharp pruners, a wheelbarrow, plenty of compost, and a spot with at least 6 hours of sunlight. The best time to move wisteria is late winter or early spring before buds swell, or early fall after leaves drop.
Dig a hole twice as wide as the root ball but only as deep—wisteria roots spread wide, not deep. Water deeply the day before moving to minimize shock.
After transplanting, you’ll want to prune back about one-third of the plant to focus energy on root establishment. Mulch heavily to retain moisture, and water every 2-3 days for the first month.
Within 2-3 seasons, your wisteria will look like it’s been there forever—thicker stems, more vigorous growth, and blooms that put on a show.
Here’s the kicker: wisteria hates being moved after it’s established, so choose your new spot carefully. If you’re working with a mature plant, expect 2-3 years of recovery—but the payoff is worth it. Let’s get those roots settled right the first time.
📚 In This Guide
- What you need
- Instructions
- Tips and common mistakes
- Wrapping up and next steps
What you need
- ● Healthy wisteria plant: Choose a 1–3-year-old wisteria with a well-developed root system (avoid overgrown specimens—they’re harder to transplant).
- ● Pruning shears: Sharp, clean shears (sterilized with rubbing alcohol) to trim roots and foliage.
- ● Garden gloves: Heavy-duty gloves to protect your hands from thorns and rough roots.
- ● Transplanting spade or shovel: A wide, flat-edged shovel (12–18 inches long) for digging the new hole.
- ● Root stimulator: A high-quality rooting hormone (e.g., Mycorrhizal fungi or Willow water) to encourage root growth.
- ● Organic mulch: 2–3 inches of wood chips, straw, or shredded bark to retain moisture and suppress weeds.
- ● Watering can or hose: With a gentle spray nozzle for post-transplant hydration.
- ● Burlap or transplanting sack: To protect roots during transport (if moving long distances).
- ● Soil tester kit: To check pH and nutrient levels of the new planting site (ideal pH: 6.0–7.0).
- ● Stakes and twine: To temporarily support the wisteria if it’s top-heavy or leggy.
- ● Slow-release fertilizer: (e.g., 10-10-10 NPK) to give your wisteria a nutrient boost after transplanting.
- ● Pruning paint: To seal large cuts (if trimming major branches).
Step-by-step instructions for transplanting wisteria plants
Here’s how to move your wisteria with minimal stress—root systems recover quickly when you follow this precise timing and technique.
🪴 Step 1: Prune and Prepare the Plant for Transplanting
Start pruning 4-6 weeks before transplanting to reduce stress. Cut back the current season’s growth by one-third, focusing on long, leggy stems. This encourages new root growth and balances the plant’s energy between foliage and roots. Avoid heavy pruning in spring or fall—timing matters because wisteria needs time to develop a strong root system before dormancy.
Water the plant deeply 3 days before moving to ensure roots are hydrated. Dig a 12-inch deep trench around the base, loosening soil gently with a spade. This helps you lift the root ball intact. If your wisteria is mature, you may need to dig deeper—older roots extend 3-4 feet down. Mark the trench with flags so you don’t accidentally cut roots while digging.
🌱 Step 2: Dig and Lift the Root Ball Carefully
On the day of transplanting, dig 6 inches beyond the root ball’s edge to avoid shearing roots. Work a shovel underneath, lifting the plant slowly. If the root ball is heavy, slide a tarp underneath to support it. Wisteria roots are fragile but resilient—never pull or twist the plant. Once lifted, wrap the root ball in burlap or a tarp to keep it moist during transport.
Inspect the roots for dryness or damage. Trim any broken roots with clean pruners, but leave at least 12 inches of healthy root intact. If the root ball is loose, gently compress it to maintain structure. This step is critical—healthy roots establish faster when the ball stays intact. If transplanting in hot weather, keep the root ball shaded and moist until planting.
☀️ Step 3: Choose the New Location and Dig the Hole
Wisteria thrives in full sun to partial shade with at least 6 hours of sunlight daily. Avoid low-lying areas where water pools—root rot is a common killer. Dig a hole twice as wide as the root ball but no deeper. Amend the native soil with compost or well-rotted manure (mix in 2-3 gallons per hole) to improve drainage and fertility. Wisteria’s deep roots need loose, aerated soil to spread.
Place the root ball in the hole so the top is level with the surrounding soil. Backfill with native soil mixed with compost, tamping gently as you go. Avoid compacting too firmly—roots need space to expand. Water deeply immediately after planting to settle the soil and eliminate air pockets. Mulch with 2-3 inches of organic mulch (like wood chips) to retain moisture and suppress weeds.
💧 Step 4: Water and Support for Faster Establishment
Water deeply every 2-3 days for the first 4 weeks, then taper to once a week once new growth appears. Wisteria roots need consistent moisture during establishment but hate soggy soil. Check soil moisture by sticking your finger 2 inches deep—if it’s dry, water again. Overwatering causes root rot, while underwatering stresses the plant.
Install a sturdy support structure (like a trellis or fence) immediately—wisteria vines grow fast and need direction. Secure the main stems loosely with soft ties to prevent damage. Prune any broken or weak stems after transplanting to redirect energy into root growth. Within 2-3 months, you’ll see new shoots—that’s your sign the roots have taken hold.
Tips & tricks for transplanting wisteria plants
Moving wisteria successfully comes down to these precise steps—small details that make all the difference between a struggling plant and one that thrives in its new home.
Timing is Everything: The 4-6 week pruning window before transplanting is non-negotiable. I learned this the hard way after moving a wisteria in spring—it took two full seasons to recover properly. The key is giving your plant time to develop a fresh root system before dormancy. If you're transplanting in late summer, aim for early August to allow sufficient recovery before winter.
Root Ball Preservation: When lifting that heavy root ball in Step 2, here's what nobody tells you—wrap it in damp burlap before moving it to the new hole. This prevents the roots from drying out during transport, which is especially critical if you're moving more than 50 feet. I've seen wisteria roots dry out completely in just 20 minutes on a sunny day. Keep the wrapped ball in the shade until you're ready to plant.
Soil Science Matters: The 2-3 gallons of compost you mix into the planting hole isn't just filler—it's about creating the right environment. Wisteria roots need loose, aerated soil to spread properly. If your native soil is heavy clay, consider adding perlite or coarse sand to improve drainage. I've found that amending with worm castings (about 1 gallon per hole) gives an extra boost to root establishment—it's like giving your plant a nutrient shot.
Watering Wisdom: That first deep watering after planting isn't just about settling the soil—it's about signaling to the roots that it's safe to start growing. For the first 4 weeks, I use a soaker hose set on a timer for 20 minutes every 2-3 days. This mimics natural rainfall patterns and prevents the soil from drying out completely between waterings. The 2-inch deep moisture check is your best friend—if it's dry at that depth, water again.
Pro Tips for Transplanting Wisteria Plant
- Moving wisteria successfully comes down to these precise steps—small details that make all the difference between a struggling plant and one that thrives in its new home.
- Timing is Everything: The 4-6 week pruning window before transplanting is non-negotiable.
- Root Ball Preservation: When lifting that heavy root ball in Step 2, here's what nobody tells you—wrap it in damp burlap before moving it to the new hole.
Frequently asked questions
Got questions about transplanting your wisteria? You’re not alone! Here are some of the most common concerns—and straightforward answers—to help you succeed.
When is the best time to transplant wisteria?
The ideal window is late winter or early spring, just as new growth begins but before leaves emerge. Avoid transplanting in summer or fall, as the plant struggles to establish roots in extreme heat or cold. If you must move it later, prioritize dormant seasons (like late fall) and water deeply afterward.
How long does it take for wisteria to recover after transplanting?
Wisteria is resilient but may take 1–2 years to fully recover, depending on age and care. Expect slower growth the first year—focus on consistent watering, mulching, and avoiding heavy pruning. Patience pays off: established plants reward you with vigorous blooms and lush foliage!
Can I transplant wisteria in pots or should I plant it directly in the ground?
While wisteria thrives in the ground, container transplanting is possible for small or young plants. Use a large, sturdy pot (15+ gallons) with drainage holes and well-draining soil. Repot every 2–3 years, but know that ground-planted wisteria grows faster and lives longer. Containers limit root spread and may restrict flowering.
My wisteria leaves are yellowing after transplanting—what’s wrong?
Yellowing leaves often signal transplant shock or root damage. Check for:
- Overwatering: Wisteria hates soggy roots. Water deeply but let soil dry slightly between sessions.
- Nutrient deficiency: Amend soil with compost or a balanced fertilizer (10-10-10) 4–6 weeks post-transplant.
- Root stress: If roots were pruned too aggressively, trim any mushy or blackened sections and replant carefully.
How do I choose the perfect spot for my transplanted wisteria?
Wisteria loves sun, space, and support! Plant in:
- A south- or west-facing location with 6+ hours of sunlight daily.
- Well-draining soil (amend clay soil with sand or compost).
- Near a trellis, arbor, or sturdy fence—wisteria needs vertical support to climb.
Wrapping up and next steps
Transplanting wisteria can feel like a challenge, but with the right preparation and care, your plant will thrive in its new home! 🌱 Remember to choose the perfect timing, gather the essential tools, and handle the roots gently for the best results.
Patience is key—give your wisteria time to establish itself, and soon you’ll be rewarded with stunning blooms and lush growth.
Ready to take the next step? Mark your calendar for the ideal transplanting window and start prepping your new location. Whether you’re reviving an older plant or giving a young wisteria a fresh start, your efforts will pay off in vibrant, healthy foliage. Happy planting!