How To
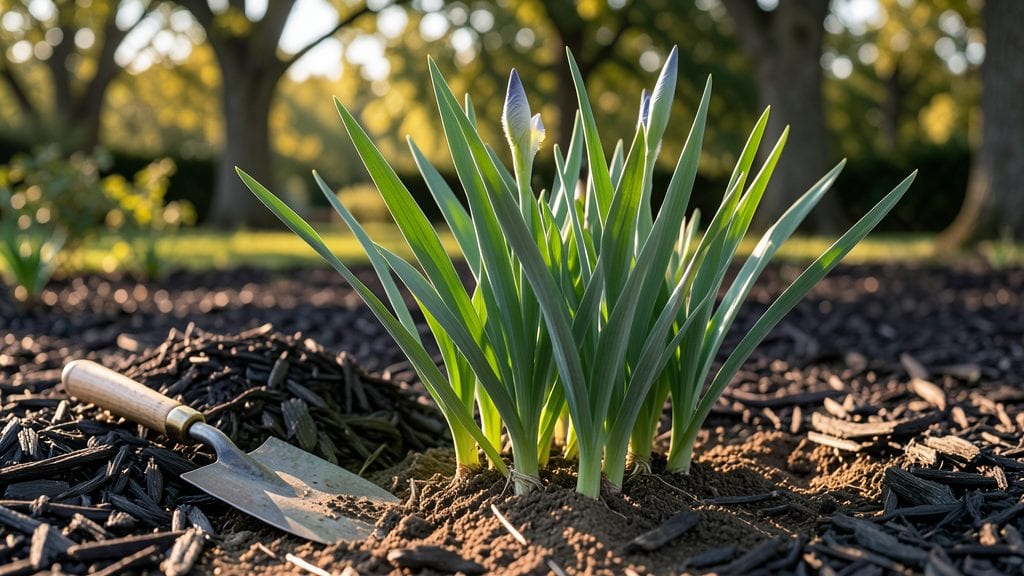
Planting iris tubers turns your spring garden into a riot of color with almost no effort. 🌿 I’ve planted hundreds over the years, and the secret isn’t fancy soil—it’s getting the timing, spacing, and exposure just right.
Most people overthink it, but iris thrive when you treat them like the low-maintenance stars they are.
The key is planting in late summer or early fall, when the tubers can establish roots before winter. You’ll need well-draining soil, a sunny spot, and a simple trick for positioning the rhizomes (half-buried, never deep).
Once planted, they’ll reward you with bold blooms year after year, with almost no upkeep.
By spring, you’ll have clusters of vibrant blooms that last for weeks, and the plants themselves multiply effortlessly. No deadheading, no fuss—just pure, reliable beauty. The only real work comes in the first 30 minutes of planting, and the payoff is worth it.
Works in borders, rock gardens, or even containers—just avoid soggy soil. Here’s how to make it foolproof the first time around.
📚 In This Guide
- What you need
- Instructions
- Tips and common mistakes
- Wrapping up and next steps
What you need
- ● Iris tubers: Healthy, firm rhizomes (tubers) with at least one eye (growth point). Aim for 3–5 tubers per square foot for a lush display.
- ● Well-draining soil: A mix of native soil + compost (60% soil, 40% compost) or sandy loam (pH 6.0–7.0). Avoid clay-heavy soil!
- ● Garden fork or trowel: For digging and loosening soil to a depth of 12–18 inches.
- ● Organic mulch: 2–3 inches of shredded bark, straw, or pine needles to retain moisture and suppress weeds.
- ● Watering can or hose: With a gentle spray nozzle for deep but even watering.
- ○ Gloves (optional but recommended): Iris rhizomes can be sharp—protect your hands!
- ● Soil pH test kit: To ensure your soil’s acidity is in the ideal range (6.0–7.0).
- ● Slow-release fertilizer: A balanced 10-10-10 or phosphorus-rich (5-10-10) option to boost root growth.
- ● Plant labels: To track varieties if you’re growing multiple types.
- ● Compost tea or mycorrhizal fungi: For an extra nutrient boost and stronger root systems.
Step-by-step instructions for planting iris tubers
Here's the straightforward method I use year after year for vibrant, long-lasting iris blooms.
🌱 Step 1: Prepare the Planting Site
Choose a location with full sun exposure—at least 6-8 hours daily. Iris tubers thrive in well-draining soil, so avoid low spots where water pools. I dig a trench about 6 inches deep and 12 inches wide for each row of tubers, spacing them 8-12 inches apart.
Loosen the soil to a depth of 12 inches with a garden fork or tiller. Amend heavy clay soil with compost or coarse sand to improve drainage. The goal is soil that feels slightly gritty when moist—iris roots despise soggy conditions. Tap the soil lightly after loosening to settle it before planting.
🌿 Step 2: Plant the Tubers Correctly
Position each tuber with the pointed end facing up—this is where the foliage will emerge. The top of the tuber should sit just 1 inch below the soil surface. Press the soil firmly around the tuber to eliminate air pockets, which can cause rot.
Space tubers 8-12 inches apart in rows 18-24 inches apart for proper air circulation. Here's the thing—if you plant them too deep, blooms will take longer to appear. If too shallow, they may dry out. Aim for that 1-inch depth as your target.
☀️ Step 3: Water and Mulch for Establishment
Water the newly planted tubers thoroughly right after planting to settle the soil. Use 1-2 gallons of water per tuber to ensure moisture reaches the roots. After watering, apply a 2-inch layer of mulch around the base, keeping it 3 inches away from the tuber to prevent rot.
I use shredded bark or straw mulch because it breaks down slowly and improves soil structure over time. Water lightly every 2-3 days until new growth appears—about 4-6 weeks. Once leaves emerge, you can reduce watering to once weekly unless your area experiences extreme heat or drought.
✂️ Step 4: Maintain Through the Growing Season
Remove spent flower stalks after blooming to redirect the plant's energy into next year's flowers. Never cut the foliage until it turns brown in late summer—this is how the tuber stores nutrients for spring blooms. I mark the planting spots with small stakes to avoid disturbing the tubers when mowing.
Fertilize lightly in early spring with a balanced, low-nitrogen fertilizer (10-10-10 ratio). Apply it 3 inches away from the tubers to avoid burning the roots. Iris tubers are hardy and low-maintenance once established—just watch for yellowing leaves, which signals overwatering, or no blooms, which often means too much shade.
Tips & tricks for planting iris tubers
A few simple tricks that'll help you avoid common pitfalls and get those vibrant iris blooms year after year.
Soil Test First: Before planting, do a quick soil test in your chosen location. Iris tubers hate soggy conditions, so if your soil drains poorly, amend it with 3-4 inches of coarse sand or perlite mixed into the top 12 inches of soil. I've seen tubers rot when planted in unamended clay—don't make that mistake! The soil should feel slightly gritty when squeezed, like damp sand at the beach.
Timing Secret: Plant your iris tubers in early spring when soil temperatures reach 50°F—about 2-3 weeks before your last frost date. This gives roots time to establish before summer heat arrives. I mark my calendar because planting too early can cause tubers to rot in cold soil, while planting too late may delay first-year blooms.
Planting Depth Visual: To get that perfect 1-inch depth, use a simple trick: place the tuber in the trench, then cover it with soil until the top just peeks above the surrounding soil line. A good rule of thumb is that the top of the tuber should be at the same level as the surrounding soil surface after settling. This prevents both over-deepening (which delays blooms) and over-shallow planting (which causes drying).
Mulch Placement: When applying that 2-inch layer of mulch, keep it 3 inches away from the tuber base to prevent rot. I use a small garden rake to create a circular barrier around each tuber before adding mulch. This creates a natural moisture barrier while still protecting roots from temperature swings. In hot climates, you might need to add extra mulch later in the season.
Pro Tips for Planting Iris Tubers
- A few simple tricks that'll help you avoid common pitfalls and get those vibrant iris blooms year after year.
- Soil Test First: Before planting, do a quick soil test in your chosen location.
- Timing Secret: Plant your iris tubers in early spring when soil temperatures reach 50°F—about 2-3 weeks before your last frost date.
Frequently asked questions
Got questions about planting iris tubers? You’re not alone! Here are answers to the most common concerns to help you grow stunning irises with confidence.
When is the best time to plant iris tubers?
The ideal window is late summer to early fall (August–October in most climates). This gives roots time to establish before winter. In mild zones, you can plant in early spring—just avoid extreme heat or frost.
Can I plant iris tubers in winter?
Not recommended! Iris tubers need 6–8 weeks of root growth before dormancy. Planting in winter risks frost damage. If you must, use mulch and wait for spring—just mark the spot to avoid disturbing roots.
What if my iris tubers sprout too early or rot?
Overwatering or planting too deep (below 4 inches) can cause rot. Ensure tubers are firm and plump, and plant in well-draining soil. If sprouts appear too soon, trim them back—roots will catch up!
Are there alternatives to planting iris tubers in the ground?
Yes! Try container gardening with pots (minimum 12 inches deep) or bog gardens for moisture-loving varieties. Just ensure containers have drainage holes and use a lightweight potting mix.
Why aren’t my iris tubers blooming?
Common culprits: overcrowding (divide clumps every 3–4 years), poor sunlight (6+ hours of sun daily), or nutrient deficiency. Feed with a low-nitrogen fertilizer in early spring to encourage blooms.
Wrapping up and next steps
Planting iris tubers is a rewarding way to welcome vibrant blooms into your garden—and you’ve got all the tools to succeed! 🌸 From selecting healthy rhizomes to giving them the perfect spot in your yard, these three simple steps will set you up for stunning spring displays.
Now that you’re armed with knowledge, why not take the next step? Grab your gloves, mark your calendar for early spring, and dive in—your future garden will thank you!
Pro tip: 💡 Snap a photo of your planted iris beds for a progress tracker, or share your blooms with fellow gardeners for extra inspiration!