How To
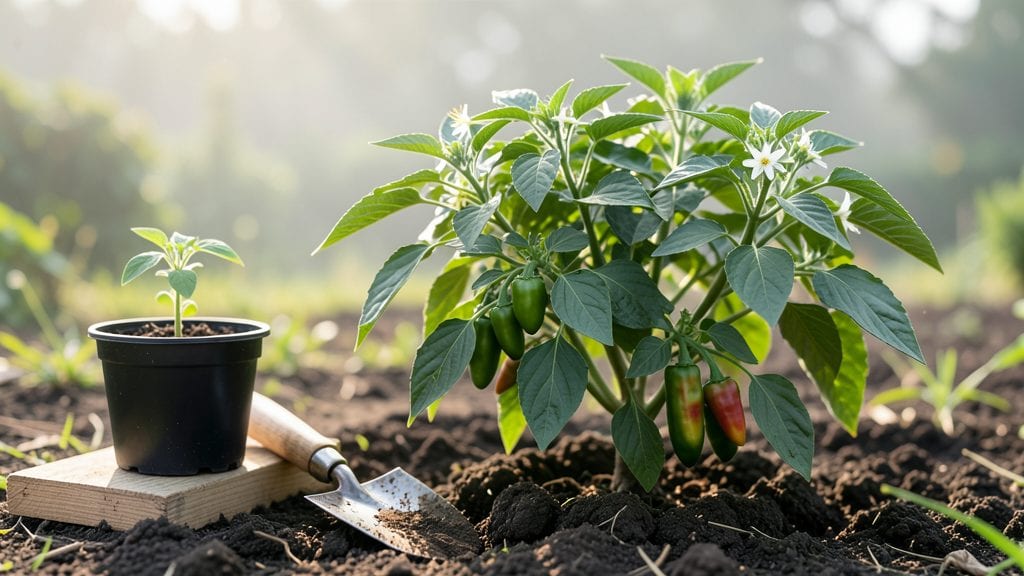
Transplanting pepper plants the right way means stronger roots and bigger harvests—no more leggy, struggling seedlings. 🌱 I’ve moved dozens of peppers from indoor starts to my garden, and the difference between careful transplanting and rough handling is night and day.
The secret isn’t complicated: timing, soil prep, and gentle handling make all the difference.
Start by hardening off seedlings for 5-7 days before transplanting, gradually exposing them to outdoor conditions. Use well-draining soil mixed with compost, and dig holes just deep enough to bury the stem up to the first leaves.
Water thoroughly before and after transplanting to reduce shock—your peppers will thank you with robust growth and fewer lost plants.
📚 In This Guide
- What you need
- Instructions
- Tips and common mistakes
- Wrapping up and next steps
What you need
- ● Healthy pepper seedlings: 4–6 weeks old (with 3–4 true leaves) and hardened off (acclimated to outdoor conditions).
- ● Transplanting pots or containers: 5–6 inch diameter pots (1 per plant) or a garden bed with well-draining soil.
- ● High-quality potting mix: Lightweight, well-draining blend (e.g., 60% peat moss, 30% perlite, 10% compost). Quantity: Enough to fill pots or amend garden soil (1–2 cubic feet per plant).
- ● Fertilizer: Balanced, water-soluble fertilizer (10-10-10 or 5-5-5) or organic options like compost or worm castings.
- ● Transplanting tool: Small hand trowel or garden spade for digging holes.
- ● Watering can or hose with gentle spray nozzle: For hydrating roots without disturbing soil.
- ○ Mulch (optional but recommended): Straw, shredded leaves, or pine needles to retain moisture and suppress weeds.
- ● Root stimulator: Liquid or powder (e.g., mycorrhizal fungi or seaweed extract) to encourage root growth.
- ● Plant supports: Small stakes or cages for taller pepper varieties (like jalapeños or bell peppers).
- ● Shade cloth: 30–50% coverage to protect seedlings from harsh afternoon sun post-transplant.
- ● Pruning shears: For trimming leggy stems or damaged foliage during transplanting.
- ● Gloves: To keep hands clean and protect from thorns (especially on hot peppers!).
How to transplant pepper plants: stress-free roots in 3 simple steps
Here's the straightforward method I use to move pepper plants without shocking their roots.
🌱 Step 1: Prepare the New Location and Dig the Holes
Choose a spot that gets 6-8 hours of direct sun and has well-draining soil—peppers hate soggy feet. Two weeks before transplanting, amend the soil with 2-3 inches of compost mixed into the top 6 inches of soil. This gives roots time to adjust to the improved conditions.
Dig holes just wide enough to accommodate the root ball without crowding. The depth should match the plant's current soil level—burying stems too deep encourages rot, while planting too shallow stresses the plant. Use a trowel to loosen the sides of each hole so roots can spread easily into the surrounding soil.
💧 Step 2: Water and Remove Seedlings Gently
Water the pepper seedlings thoroughly 1-2 days before transplanting—this keeps roots moist and easier to handle. On transplant day, water again until the soil is damp but not saturated. Gently grasp the base of each plant and lift it straight up, supporting the root ball with your other hand to prevent breakage.
If roots are tangled, tease them apart lightly with your fingers. Avoid shaking off excess soil—this disrupts the mycorrhizal fungi that help roots absorb nutrients. You'll know you've done it right when the root ball stays intact and the plant doesn't wilt immediately after removal.
☀️ Step 3: Plant and Protect for Recovery
Place each pepper plant into its prepared hole, spacing them 18-24 inches apart for adequate airflow. Fill the hole with soil, pressing gently around the base to eliminate air pockets. Water deeply right after planting to settle the soil and encourage root contact with the surrounding earth.
Mulch the area with 1-2 inches of straw or shredded leaves to retain moisture and regulate soil temperature. Avoid direct mulch contact with stems to prevent rot. Keep newly transplanted peppers shaded for 3-5 days using a lightweight fabric or old sheet—this reduces stress and helps them establish faster.
Real talk: The first week is critical. Watch for wilting or yellowing leaves, which signal transplant shock. If you see this, water lightly at the base and avoid fertilizing until new growth appears—peppers need time to recover before they can focus on producing fruit.
Tips & tricks for stress-free pepper transplanting
Transplanting pepper plants doesn't have to be stressful—these proven techniques ensure your plants thrive from day one.
Soil Prep is Everything: The two-week compost amendment in Step 1 isn't just about nutrients—it's about giving roots time to acclimate to improved conditions. I always test soil drainage by filling a jar with soil and water; if water pools at the bottom after 30 minutes, your soil drains too slowly. For heavy clay soils, mix in 10% perlite to improve aeration.
Root Ball Integrity Matters: When removing seedlings in Step 2, resist the urge to shake off excess soil—those tiny soil particles contain beneficial microbes and mycorrhizal fungi that help roots absorb nutrients. Instead, gently loosen tangled roots with your fingers while keeping the root ball intact. If roots break during removal, trim any damaged sections with clean scissors before replanting.
Timing is Critical: The 1-2 days of pre-transplant watering in Step 2 creates the perfect moisture balance—roots are hydrated enough to handle moving but not so soggy they fall apart. I schedule transplanting for a cloudy morning to reduce stress from direct sun exposure during the first 24 hours. Avoid transplanting when temperatures exceed 85°F, as peppers struggle to establish in extreme heat.
Post-Transplant Care Wins: That 3-5 days of shade in Step 3 isn't just optional—it's essential for preventing transplant shock. I use lightweight shade cloth instead of heavy fabric, as it allows some light penetration while still reducing stress. After removing shade, monitor plants closely for the first week; any wilting or yellowing indicates they need more time to recover before resuming normal care.
Pro Tips for Transplant Pepper Plants
- Transplanting pepper plants doesn't have to be stressful—these proven techniques ensure your plants thrive from day one.
- Soil Prep is Everything: The two-week compost amendment in Step 1 isn't just about nutrients—it's about giving roots time to acclimate to improved conditions.
- Root Ball Integrity Matters: When removing seedlings in Step 2, resist the urge to shake off excess soil—those tiny soil particles contain beneficial microbes and mycorrhizal fungi that help roots absorb nutrients.
Frequently asked questions
Got questions about transplanting your pepper plants? You’re not alone! Here are some of the most common concerns—and their stress-free solutions.
When is the best time to transplant pepper plants?
Transplant peppers after the last frost when soil temps hit 60°F (15°C) or warmer. For cooler climates, wait until nighttime temps stay above 55°F (13°C). Early morning or late afternoon transplants reduce shock from direct sun. Pro tip: Harden off seedlings 7–10 days before transplanting to boost resilience!
How long does it take for pepper plants to recover after transplanting?
Most peppers show signs of recovery in 1–2 weeks, but full strength returns in 3–4 weeks. Watch for new leaves and sturdy stems. If growth stalls, check for overwatering (yellow leaves) or underwatering (drooping). A light fertilizer (like fish emulsion) can speed up recovery if soil nutrients are low.
Can I transplant pepper plants in containers instead of the ground?
Containers work great for peppers—just use pots at least 12 inches deep with drainage holes. Opt for self-watering containers to prevent root stress. Dwarf varieties thrive in 5-gallon pots, while larger types need 10+ gallons. Move containers to a sunny spot and rotate them weekly for even growth.
What should I do if my pepper plant looks wilted after transplanting?
Wilting is normal for 24–48 hours post-transplant, but if it persists, act fast:
- Check soil moisture: Stick your finger 1 inch deep—water if dry.
- Trim damaged roots: Gently rinse roots and snip any mushy or blackened sections.
- Avoid fertilizer: Wait 2 weeks to let roots establish.
- Provide shade: Use a cloth or row cover for 3–5 days.
Can I transplant pepper plants in hot weather?
Transplanting in temperatures above 85°F (29°C) stresses peppers, but it’s doable with adjustments:
- Water deeply before and after transplanting.
- Use mulch (straw or grass clippings) to retain moisture.
- Transplant in early morning or evening to avoid midday sun.
- Consider shade cloth for the first week.
Wrapping up and next steps
Transplanting pepper plants doesn’t have to be stressful—with the right tools, timing, and care, you’ll give your peppers the best start for a bountiful harvest! 🌱 Remember to harden off seedlings, choose the right spot, and handle them gently to minimize shock.
Whether you’re a beginner or a seasoned gardener, these steps will help your plants thrive.
Now that you’re ready to transplant, grab your gloves and get growing! Next up: Monitor your plants closely after transplanting, water consistently, and watch as your peppers flourish into healthy, productive plants. Happy gardening! 🌶️