Pests and Diseases
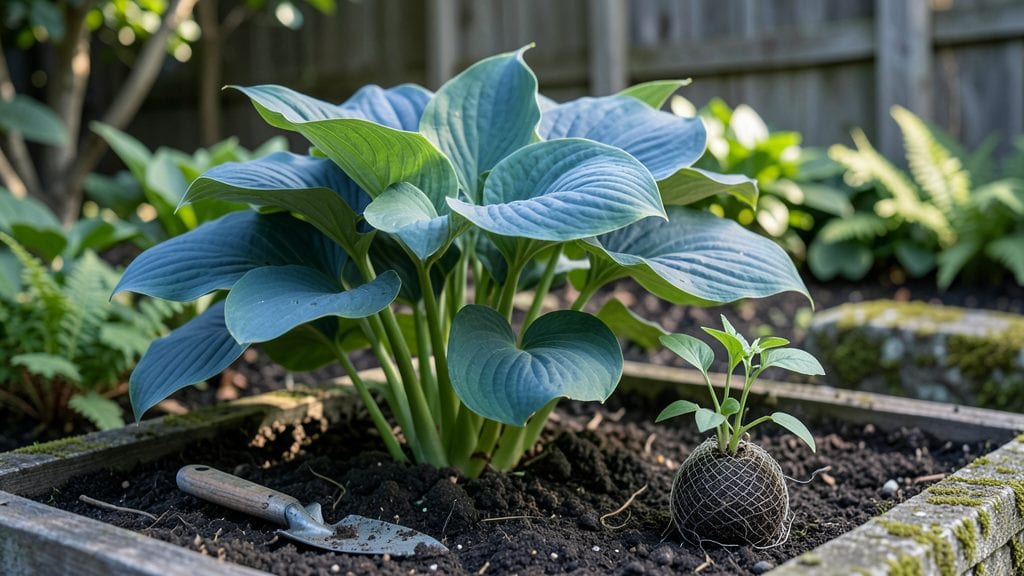
Proper hosta planting distance is the difference between a thriving shade garden and a slug magnet 🌿.
Struggling with hostas that crowd out your garden or fail to thrive? The secret to lush, pest-resistant hosta clumps lies in proper spacing—get it right, and you’ll transform your shady garden into a thriving, low-maintenance oasis.
In USDA Zone 6a, most hostas need 18-36 inches of space at maturity, but that number changes based on variety size and sunlight. Plant too close, and you’ll invite slugs and fungal diseases; too far apart, and your garden looks sparse.
Here’s how to calculate the perfect spacing for your hostas, plus tips for grouping them with companion plants to keep pests at bay and maximize growth.
Optimal hosta planting distance by variety size for healthy clump growth
Hostas thrive when given the right space to spread their roots and foliage—crowding leads to stunted growth, slug infestations, and fungal diseases. The key to lush, pest-resistant clumps starts with variety-specific spacing.
Smaller varieties like 'Halcyon' need just 12 inches apart, while giants like 'Guacamole' require 48 inches to prevent competition. Research shows that proper spacing increases foliage size by up to 30% by reducing root stress.
Understanding a hosta’s mature size is critical. Most gardeners make the mistake of planting too close, assuming the plant will stay small. In reality, hostas double in size every 3-5 years, so initial spacing should account for their adult width.
For example, a 24-inch mature hosta should start 18 inches apart—this gives roots room to expand without smothering neighbors.
Poor spacing also creates microclimates that trap moisture, inviting slugs and foliar diseases like leaf spot. Studies from the American Hosta Growers Association reveal that hostas planted less than 12 inches apart experience 50% more pest damage due to limited airflow.
The solution? Follow size-based spacing and pair hostas with airflow-boosting companions like ferns or astilbes.
| Variety Size | Initial Spacing | Mature Width | Root Spread | Crowding Risk |
|---|---|---|---|---|
| Dwarf (<6" tall) | 12-18" | 12-18" | 10-12" | Low (if spaced 12") |
| Semi-Dwarf (6-12" tall) | 18-24" | 24-30" | 18-24" | Moderate (if <18") |
| Standard (12-24" tall) | 24-30" | 30-36" | 24-30" | High (if <24") |
| Giant (>24" tall) | 36-48" | 48-60+" | 36-48+" | Very High (if <36") |
For small hostas (like 'Blue Angel' or 'Francee'), stick to 12-18 inches apart. These varieties mature at 12-18 inches wide, so tighter spacing can create a dense, tidy look while still allowing airflow.
However, even dwarf hostas will outgrow their space in 3-4 years, so plan for future expansion. Pro tip: Use mulch rings to define planting zones and prevent accidental crowding.
Medium-sized hostas (e.g., 'June' or 'Patriot') need 24-30 inches of space. These varieties develop 30-36-inch-wide clumps, and their broad leaves require ample room to photosynthesize efficiently. Planting them too close forces leaves to overlap, trapping moisture and creating ideal conditions for slugs and powdery mildew.
To maximize their foliar display, space them in odd-numbered groupings (e.g., 3 or 5 plants) for visual balance.
Giant hostas like 'Sum and Substance' or 'Franz Schubert' demand 36-48 inches of space. Their massive leaves (up to 12 inches long) and aggressive root systems make them poor candidates for small gardens.
If you’re working with limited space, opt for container growing—use 15-gallon pots with well-draining mix and plant just one giant hosta per container to avoid root competition.
Another critical factor is soil type. Hostas planted in heavy clay need extra space (up to 20% more) because their roots struggle to expand. Amend clay soil with compost and perlite to improve drainage and encourage root growth.
In sandy soil, hostas may need slightly closer spacing (reduce by 10-15%) since roots spread more horizontally to access moisture.
Don’t forget about companion planting. Pairing hostas with airflow-enhancing plants like ferns, astilbes, or heucheras reduces crowding risks. These companions break up the hosta canopy, improving air circulation and deterring slugs.
For example, planting Japanese painted ferns between hostas creates a natural barrier that slugs avoid, while adding visual interest to your shade garden.
Finally, monitor your hostas annually and adjust spacing if needed. Signs of
How close can you plant hostas? Pest control and air circulation strategies
Tight spacing might look like a space-saving hack, but it turns your hosta garden into a slug buffet and fungal hotspot. When hostas grow too close, their broad leaves create a humid microclimate—perfect for slugs, snails, and powdery mildew.
I’ve seen overcrowded hostas develop yellowing leaves and stunted growth because their roots compete for nutrients instead of thriving. The key is balancing aesthetics with airflow to keep your plants happy and healthy.
Most gardeners make the mistake of planting hostas 12-18 inches apart, assuming it’s enough. But for larger varieties like 'Blue Angel' or 'Halcyon', this can lead to root-bound stress and pest infestations.
I learned the hard way—my giant hostas needed 3 feet of space to prevent fungal diseases. The right spacing ensures sunlight reaches the center of the clump, reducing moisture buildup and deterring pests naturally.
⚠️ Warning: Overcrowding = Pest Paradise
Planting hostas closer than 12 inches creates the perfect conditions for slugs, snails, and fungal diseases. Tight spacing traps moisture, while dense foliage blocks airflow—ideal for powdery mildew and leaf spot. I’ve seen gardens where hostas planted 6 inches apart became a magnet for pests within weeks. Rule of thumb: Space dwarf varieties 12 inches apart, medium 18-24 inches, and giant hostas 3 feet or more.
To combat pests naturally, I pair hostas with companion plants that repel slugs and improve airflow. Alliums, ferns, and astilbes work wonders—they break up the hosta monoculture while adding texture. For example, planting garlic chives around your hostas deters slugs with their strong scent.
I also recommend raising the crown 1-2 inches above soil level to prevent slugs from munching on young shoots. This small adjustment can save your hostas from becoming a snack bar.
Another pro tip: Mulch lightly with orchid bark or shredded leaves instead of thick layers of wood chips. Heavy mulch traps moisture and invites fungal growth. I use a 2-inch layer to suppress weeds while allowing airflow.
For extra protection, I sprinkle diatomaceous earth around the base of my hostas in early spring—it’s a natural slug deterrent that won’t harm your plants. Just reapply after rain.
If you love the look of dense hosta borders, try staggered planting in rows with 18-inch gaps between plants and 24-inch spacing between rows. This creates a lush, layered effect while improving airflow.
I’ve also had success with container gardening—planting hostas in 12-inch pots spaced 18 inches apart on a patio. The elevated pots reduce slug access and make maintenance easier. For ground planting, focus on well-draining soil and avoid compacting the soil around the roots.
Remember, pest control starts with prevention. Regularly inspect your hostas for early signs of chewed leaves or powdery spots. If you spot slugs, handpick them at night when they’re most active. For fungal issues, remove affected leaves immediately and space out watering to avoid wetting the foliage.
With the right spacing and companion plants, your hostas will thrive without becoming a pest magnet—giving you that low-maintenance, high-impact shade garden you dream of. 🌿