Pruning
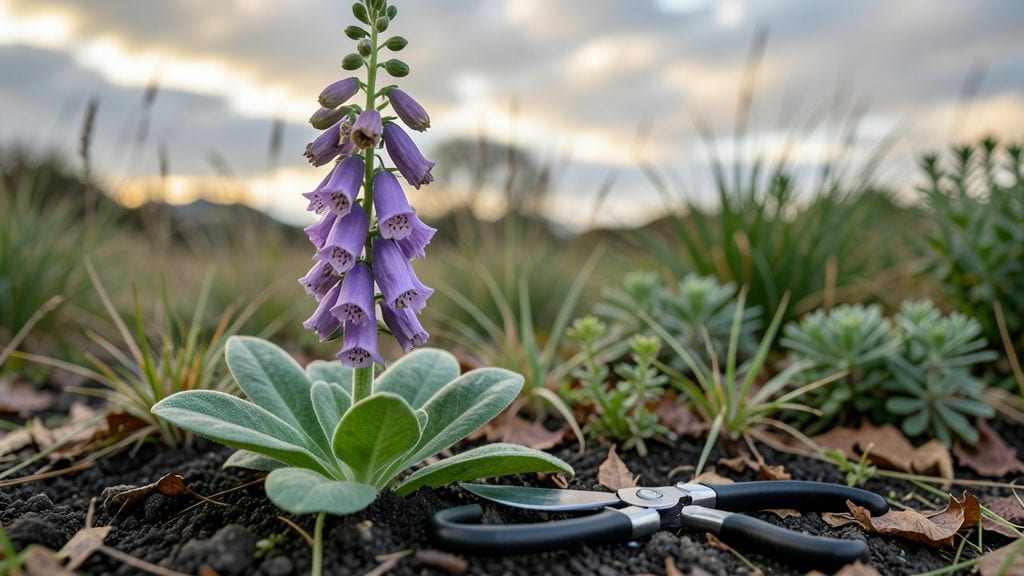
Deadheading foxglove plants doubles your blooms next season with just two simple cuts. ✨ I used to watch my foxgloves put all their energy into seed pods instead of more flowers—until I learned this trick that keeps them flowering like crazy.
The secret isn’t complicated, but timing matters more than you’d think.
You’ll need sharp pruners or clean scissors and about 10 minutes of focused work. Grab them after the first flush of blooms fades but before the seed pods swell—usually mid-to-late summer in most climates.
The goal is to remove spent flowers cleanly without damaging the stems, which encourages the plant to redirect energy into new growth.
After just one season of proper deadheading, you’ll see lush, taller spikes packed with flowers instead of leggy stems. The plants stay healthier too, with fewer pests targeting weakened seed heads. It’s the difference between a few scattered blooms and a dramatic, repeat-flowering showstopper.
Works for both biennial and perennial foxgloves, and the same method applies whether you’re growing them in garden beds or containers. Once you try it, you’ll never let those seed pods form again—your foxgloves will thank you with bigger, bolder blooms every year.
📚 In This Guide
- What you need
- Instructions
- Tips and common mistakes
- Wrapping up and next steps
What you need
- ● Pruning shears or sharp scissors: Choose bypass pruners (clean cuts) or small garden shears with sterilized blades (rubbing alcohol wipe). Avoid dull tools—foxglove stems are woody!
- ○ Gloves (optional but recommended): Wear gardening gloves to protect against foxglove’s mild toxicity (sap can irritate skin). Nitrile gloves work best.
- ● Disinfectant (70% isopropyl alcohol or hydrogen peroxide): A small spray bottle or cloth to sterilize tools between cuts and prevent disease spread.
- ○ Garden twine or rubber bands (optional): For tying up spent flower spikes if you’re not ready to prune them yet.
- ● Timing: Deadhead after flowering (late summer/early fall) but before seed pods form to redirect energy to new growth.
- ● Weather: Work on a dry, overcast day to avoid stressing the plant.
- ● Safety: Avoid inhaling foxglove dust—it contains digitalis, which is toxic. Wear a mask if sensitive.
- ● Compost bin: Collect spent blooms to enrich your compost (ensure no seeds remain!).
- ● Plant markers: Label foxglove varieties if you’re experimenting with hybrids or heirlooms.
- ● Fertilizer (balanced 10-10-10): A light application after pruning encourages fresh foliage.
Instructions for deadheading foxglove plants
Here's the straightforward method I use to keep foxgloves blooming all season.
✂️ Step 1: Identify and Remove Spent Blooms
Start by examining each flower spike carefully. Look for blooms that have faded completely—these will be the easiest to spot as their petals droop or turn brown. I like to work on a dry morning when the stems are firm and less likely to snap unexpectedly.
Use sharp, clean pruners to make your first cut. Snip the entire spent bloom just above the next set of buds that are still closed. This ensures you're not removing potential future flowers. If you're unsure which buds are viable, I recommend cutting slightly higher than you think—foxglove buds are surprisingly resilient.
Here's the thing—don't cut into the leafy growth below the flower spike. You'll know you've gone too far if you see green foliage in your pruners. The goal is to remove only the dead flowers while preserving the plant's energy for new blooms.
✂️ Step 2: Thin Overcrowded Spikes for Better Airflow
After removing all the spent blooms, examine each flower spike for signs of congestion. Foxgloves often produce multiple flower buds clustered together, which can lead to weak stems and reduced blooms. I find the second cut is where the magic happens for longer-lasting flowers.
Using the same pruners, make a second cut if you notice clusters of buds growing too closely together. Aim to space remaining buds about 1-2 inches apart along the stem. This might mean removing some healthy-looking buds, but trust me—your plant will reward you with stronger, more vibrant blooms.
Watch for any stems that appear weak or leggy. These are often the ones that need more aggressive thinning. You'll see them bending away from the main spike or showing signs of yellowing at the base. These stems are energy vampires—removing them redirects the plant's resources to healthier growth.
⏰ Step 3: Time Your Deadheading for Season-Long Blooms
The timing of your deadheading makes all the difference. I've found that foxgloves respond best to regular maintenance every 7-10 days during their peak blooming season. This keeps the plant focused on producing new flowers rather than setting seed.
Pay attention to your local climate—foxgloves in cooler regions may need less frequent deadheading, while those in warmer areas might benefit from weekly attention. You'll know you're on the right track when you see new flower buds forming within 2-3 weeks of your first cuts.
Don't stop deadheading until you see the flower spikes starting to brown from the bottom up. This is nature's way of telling you the plant is preparing for dormancy. At this stage, I make one final cut to remove all remaining blooms and let the plant conserve its energy for next season.
💧 Step 4: Follow Up With Proper Care
After deadheading, give your foxgloves a good drink of water to help them recover from the pruning. I like to water at the base of the plant in the early morning, which gives the roots time to absorb moisture before the heat of the day.
You might notice some new growth appearing within a few days—that's your signal everything is working. Keep an eye out for any signs of stress like yellowing leaves or wilting stems. These could indicate your plant needs more frequent watering or protection from direct afternoon sun.
Real talk: foxgloves are surprisingly forgiving plants. Even if you miss a deadheading cycle or two, they'll often bounce back. The key is consistency—regular maintenance prevents the plant from putting all its energy into seed production, which is what leads to those stunning, continuous blooms we all love.
Tips & tricks for perfect foxglove deadheading
These simple yet effective tricks will help you extend your foxgloves' blooming season while keeping your plants healthy and vibrant.
Tool Selection: Invest in a good pair of bypass pruners with sharp, clean blades—dull pruners crush stems and can introduce disease. I keep a dedicated pair just for deadheading to prevent cross-contamination with other plants. For larger foxglove patches, consider adding a small hand pruner to your toolkit for more precise cuts.
Visual Cues for Perfect Cuts: In Step 1, look for the slight "knee" where the spent bloom meets the stem—this is your ideal cutting point. The buds below should be firm and closed, not soft or swollen. If you're unsure, make your cut just above the first healthy bud you see. Remember, foxglove buds are tougher than they look and can withstand slightly higher cuts than you might expect.
Seasonal Adjustments: The 7-10 day maintenance window in Step 3 is ideal for most climates, but adjust based on your local conditions. In hotter regions, you might need to deadhead weekly to prevent stress, while cooler climates can sometimes stretch to 2-week intervals. Watch your plants—they'll tell you when they need attention through new bud formation or wilting leaves.
Post-Deadheading Care: After your cuts, give your foxgloves a deep watering to compensate for the stress of pruning. I've found that adding a balanced liquid fertilizer to the water (about 1 teaspoon per gallon) gives them a nice boost. This is particularly helpful after aggressive thinning in Step 2, where you might have removed several buds from a single spike.
Pro Tips for Deadheading Foxglove Plants
- These simple yet effective tricks will help you extend your foxgloves' blooming season while keeping your plants healthy and vibrant.
- Tool Selection: Invest in a good pair of bypass pruners with sharp, clean blades—dull pruners crush stems and can introduce disease.
- Visual Cues for Perfect Cuts: In Step 1, look for the slight "knee" where the spent bloom meets the stem—this is your ideal cutting point.
Frequently asked questions
Got questions about deadheading foxglove plants? You’re not alone—this task can feel tricky at first! Below, we’ve rounded up the most common queries to help you tackle it like a pro.
When is the best time to deadhead foxglove?
Deadhead foxglove after the blooms fade but before seed pods form—typically in late spring to early summer. For second flushes (like in biennials), trim again in late summer. Avoid cutting into old wood (the woody stems) to prevent damaging the plant.
Do I cut all the way down to the base?
No! Only remove the spent flower spike (cut just above the next set of leaves or buds). Cutting to the base can harm the plant’s energy reserves. For biennials, leave some foliage to store energy for next year’s blooms.
What if my foxglove stops blooming after deadheading?
If blooms dwindle, check for these fixes:
- Light: Foxglove thrives in partial shade—too much sun can scorch.
- Water: Keep soil moist but not soggy (especially during bloom time).
- Fertilizer: A balanced, low-nitrogen feed in early spring can help.
Can I deadhead foxglove in containers?
Container foxglove follows the same rules—trim faded spikes above the next leaf set. Just ensure your pot has drainage and you’re watering consistently. Pro tip: Use a sharp, clean pair of shears to avoid crushing stems.
What’s the difference between deadheading and pruning foxglove?
Deadheading = removing individual spent blooms to encourage more flowers. Pruning = cutting back entire stems (usually after blooming) to shape the plant or rejuvenate growth. For foxglove, deadheading is your daily task; pruning is seasonal.
Wrapping up and next steps
Deadheading foxglove plants is a simple yet powerful way to extend their blooming season and keep your garden vibrant! 🌸 With just a few strategic cuts, you’ll encourage lush, second flushes of flowers—no fancy tools or gardening degree required.
Whether you’re a seasoned green thumb or a beginner, this easy technique ensures your foxgloves stay showstoppers all season long.
Ready to give it a try? Grab your pruners and head to the garden! Start with one plant, observe the results, and soon you’ll be deadheading like a pro. Happy gardening! 🌿✨